
REVIEW – 73. Why is that number important? That was the calculated age of my lungs and my most recent pulmonary function test (PFT) about two years ago. That was a problem as I was only 61 years old at the time. I have a touch of asthma that makes it difficult for me to fully express the air from my lungs, leaving stale air in there. That dead air takes up space for new, fresh air, reducing the efficiency of my lungs. Yay. This all manifests itself by me getting out of breath all too easily, especially when walking up inclines or stairs. When I got the chance to review the Airofit Pro 2.0 breathing trainer, I jumped at the chance, but not too much as I would be sucking wind.
What is it?
Airofit Pro 2.0, along with its companion application, is a system to help you through Respiratory Muscle Training (RMT) to train your breathing muscles, improving the efficiency of your breathing. From their website:
RMT was originally developed as an effective method to help people cope with conditions such as asthma, COPD, and bronchial disorders. The method has long since proved equally efficient in helping healthy individuals, and elite athletes boost their physical performances, sharpen focus, and better their mental well-being.
What’s in the box?
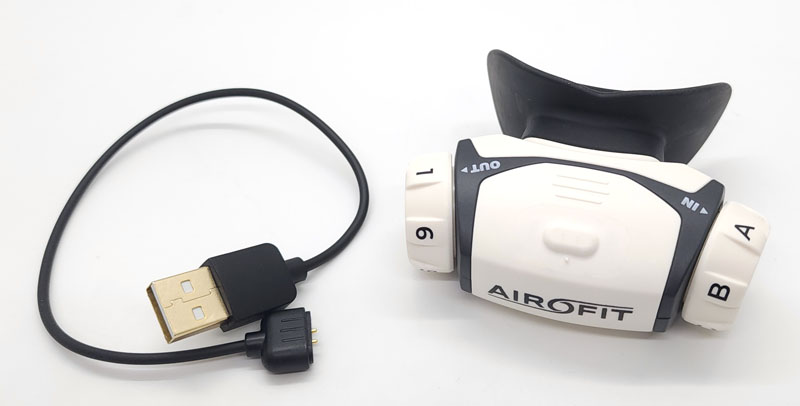
- Assembled Airofit Pro 2
- USB-A magnetic charging cable
The box itself serves as a user manual of sorts.
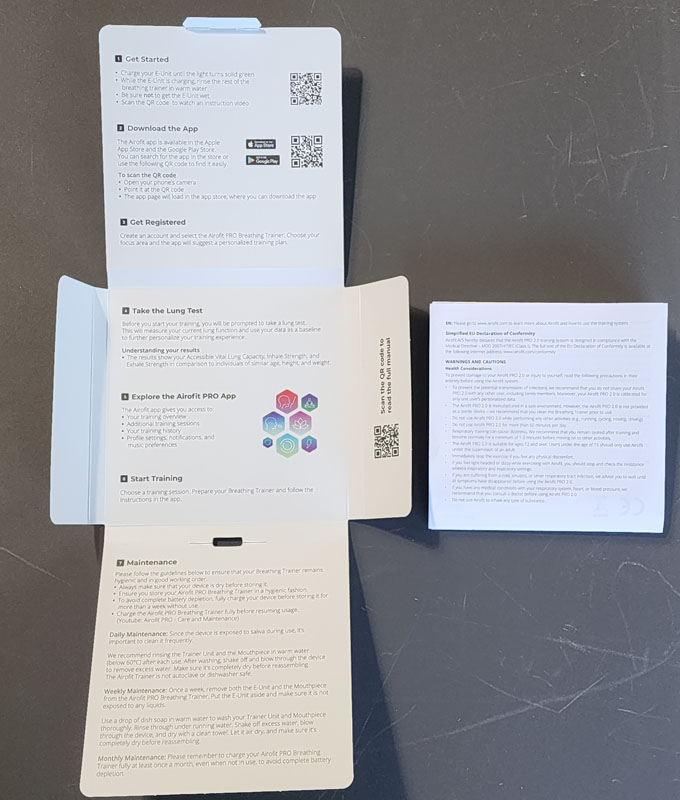
On the right is the list of warnings and cautions in about a zillion languages.
Hardware specs
- Dimensions: 70mm x 77mm x 33mm
- Weight: 45g
- Material: Mouthpiece TPE, Housing ABS
- Battery: Rechargeable 3.7V Li-ion, 35mAh
- Battery Capacity: 8 hours
- Charger: 5V, min 100mA
- Charging time: 8 hours
- Charger plug: Magnetic connector
- Communication: Bluetooth BLE version 5.1
- Smartphone App: IOS version 11 or newer Android version 7 or newer
- Operating conditions
- Temperature, indoor: 15°C to 35°C
- Temperature, outdoor: 0°C to 45°C
- Relative humidity: 10% to 90% RH
- Pressure: 960 hPa to 1,060 hPa
- IP classification: IP64
- Storage and transport conditions
- Temperature: -25°C to 50°C
- Relative humidity: 10% to 90% RH
- Pressure: 700 hPa to 1,060 hPa
Design and features
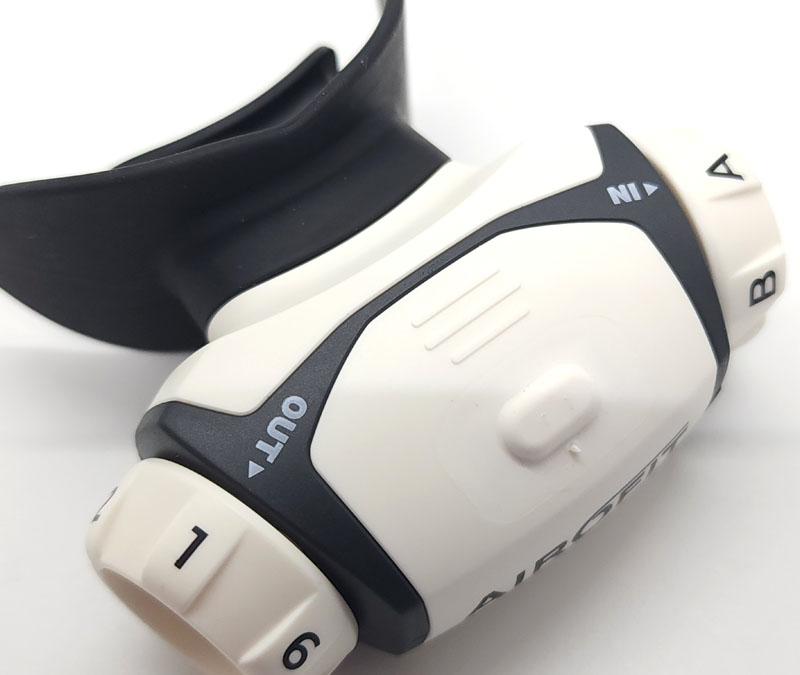
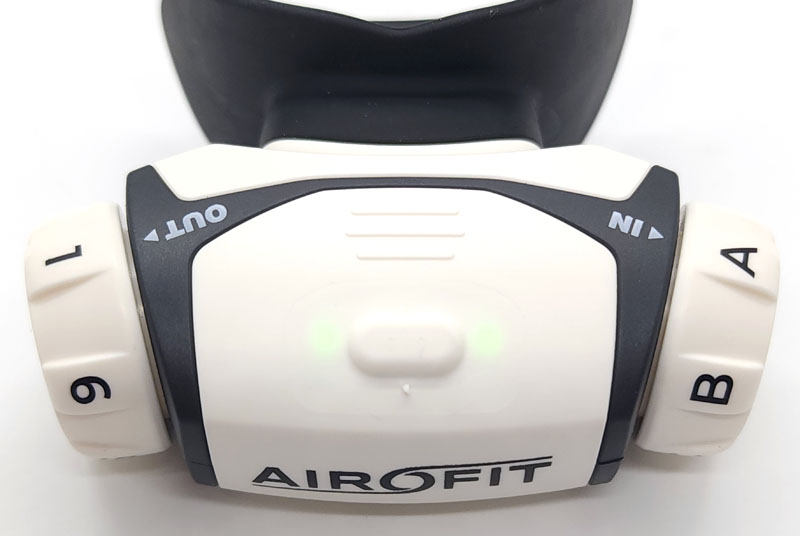
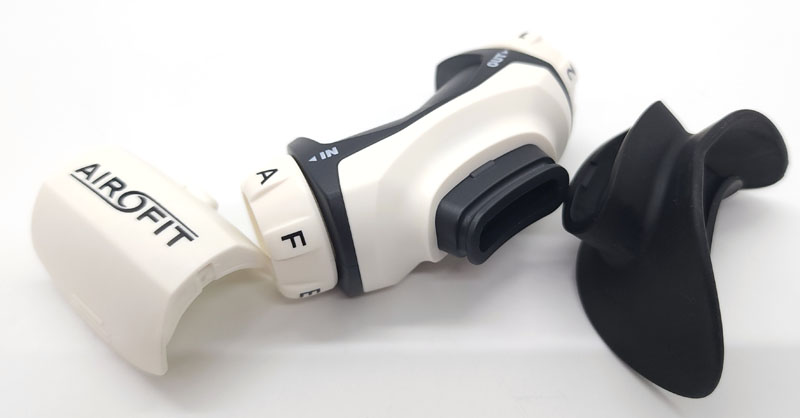
The best way to describe what the Airofit looks like is that it resembles a sports mouthguard. The rubber mouthpiece fits into your mouth and the device itself sits outside your mouth. The air input and output sides of the device are labeled with “IN” and “OUT” respectively. Each side has six levels of resistance labeled A-F for the “in” side and 1-6 for the “out” side.
A pair of hidden green LEDs on both sides of the power button illuminate when the device is on. They flash slowly when the device is charging. You can also see the two resistance level dials here.
Setup
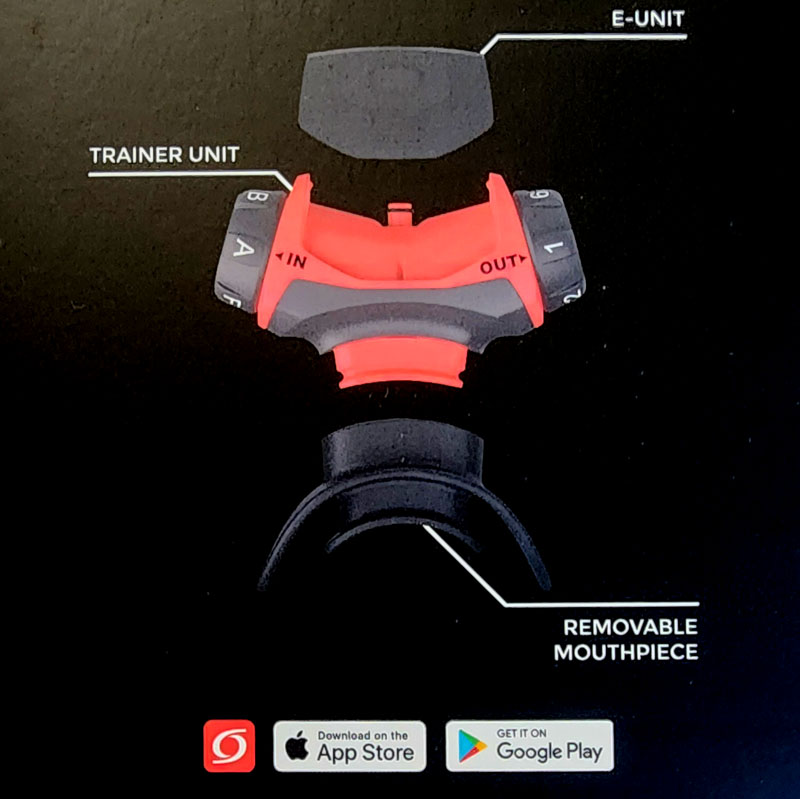
A main part of the setup is charging the device fully. Nothing in the included instructions explains how to disassemble the unit. Here is a clue.
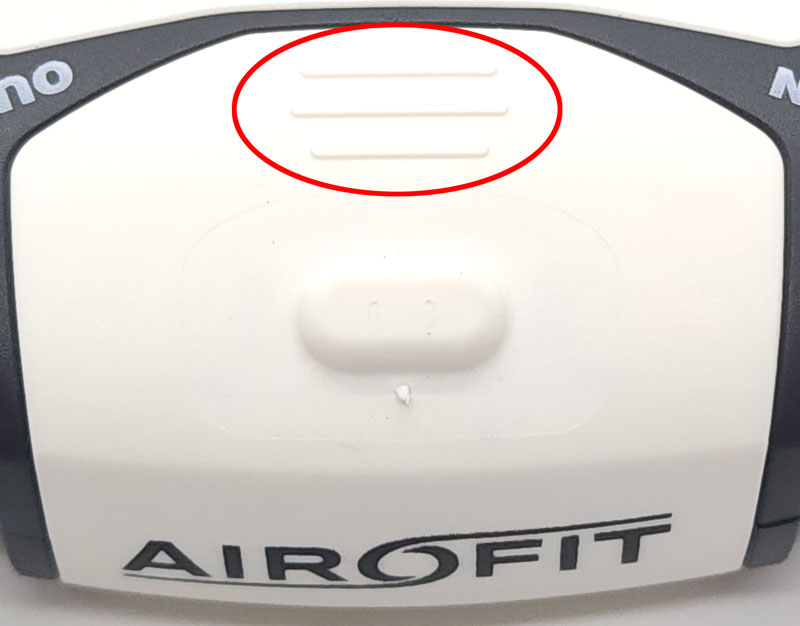
Do you see those three raised bars circled in red? They sure look like the grip lines on a remote control. There is another set underneath as well. You squeeze those and pull until the electronic unit (e-unit) pops off. You use the same brute force method to remove the mouthpiece.
The magnetic charging contacts are located on the inside of the e-unit.
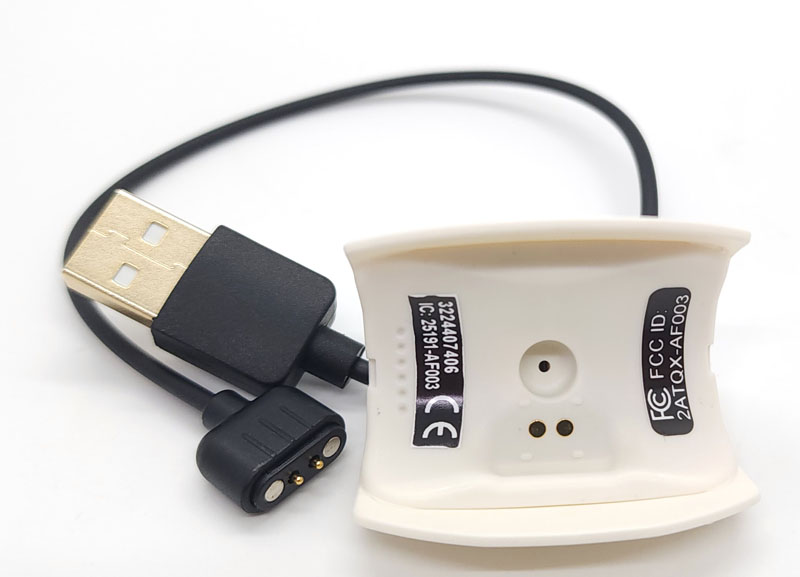
The custom charging cable only correctly orients one way and the magnets won’t engage if the charger is backward. Charging isn’t fast and can take several hours. Once the LEDs stop flashing, the e-unit is charged. I would really like to see USB-C charging become standard on everything – I mean, even Apple is finally doing that – and eliminate easy-to-lose custom cables.
The other part of the setup is downloading and installing the app and setting up an account.
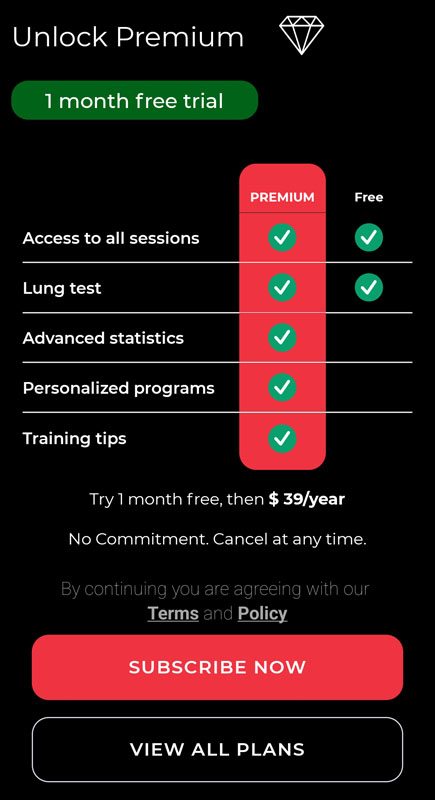
The Airofit folks set me up with a premium account so I could try out all the goodies.
Performance
Once you have the device charged, the app loaded, and an account created, you’re ready to start training.
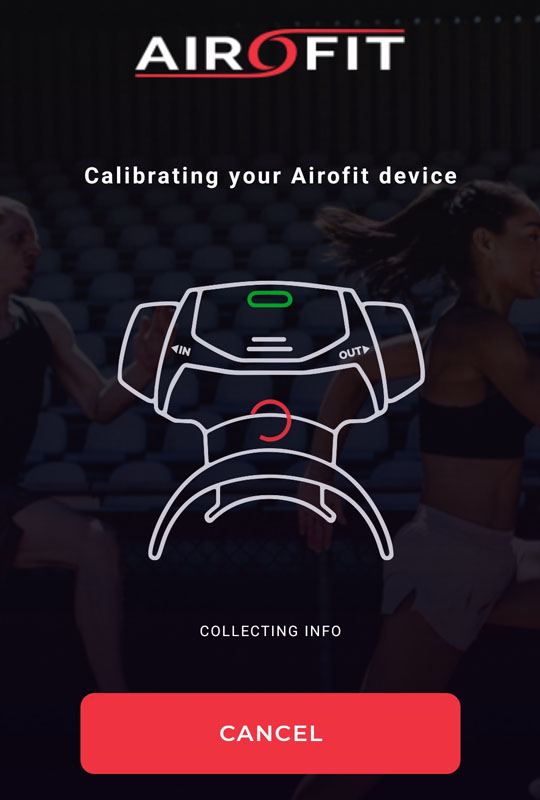
When you open the app, it scans for Airofit devices and prompts you to turn yours on. Once it appears on the screen, click it and the app connects to the Airofit via Bluetooth. You only have to make that connection once. Everytime it connects, it calibrates your Airofit.
Next up is to decide what type of training you want to do.
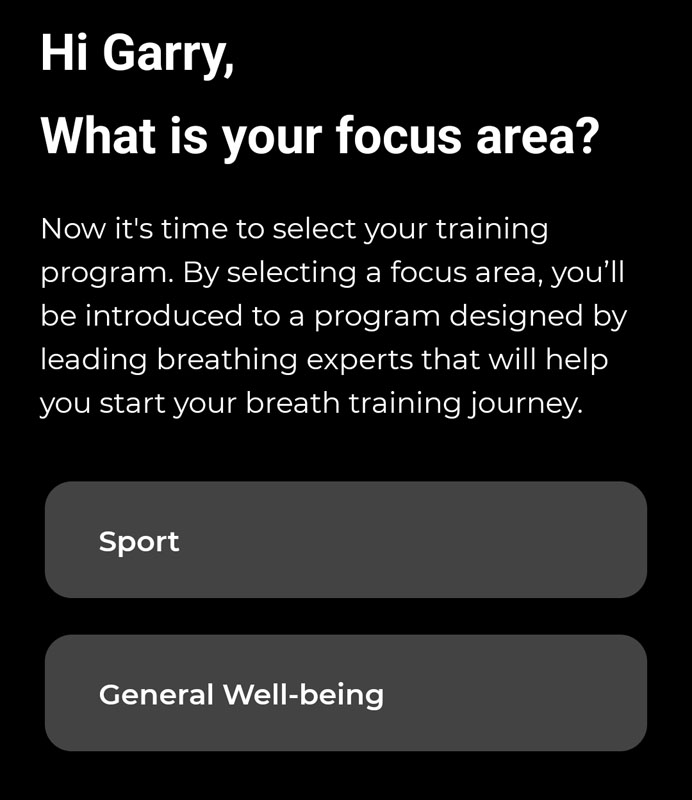
Since I’m not training for a specific sport, I opted for the well-being section.
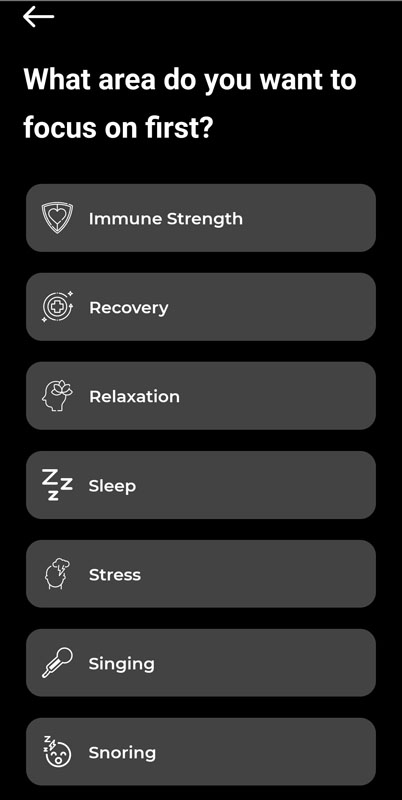
My big thing is to not be as winded when I climb stairs or walk up hills. That sounded like “recovery” to me. It turns out that I was wrong – that is about injury recovery. Oh well, I adjusted later after getting some advice.
The first thing the app takes you through is a lung test – essentially a mini-PFT.

This gives you a baseline as well as providing progress tracking. You can choose to do a lung test daily or weekly. This is the result of my first lung test.
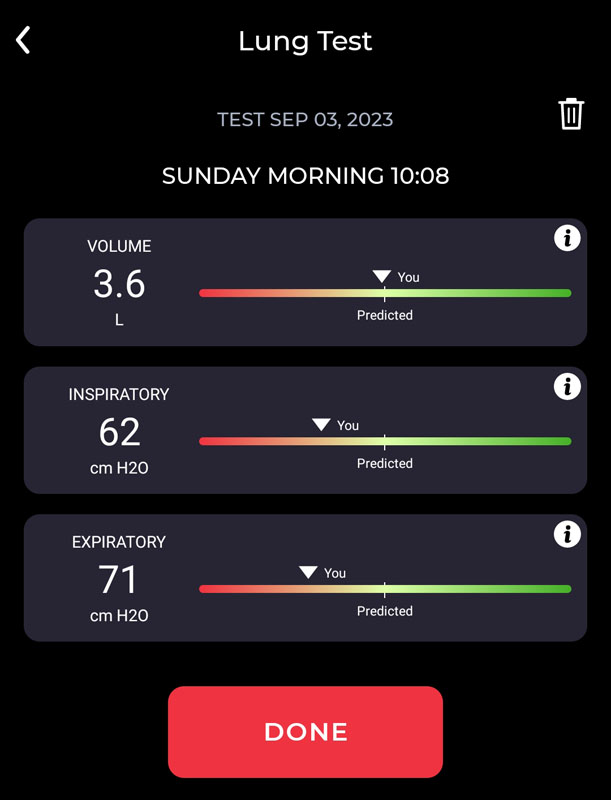
The app tells you to adjust the dials to “A”, and “1” – no resistance. The test measures lung volume and the pressure you create on your inhales and exhales. As you can see, I didn’t do well. This was my first attempt, and I did get better just doing it again once I understood how to do it.
Still, I hovered just under four liters of lung capacity. The average male has a capacity of around six liters. I’m underperforming by about 33%.
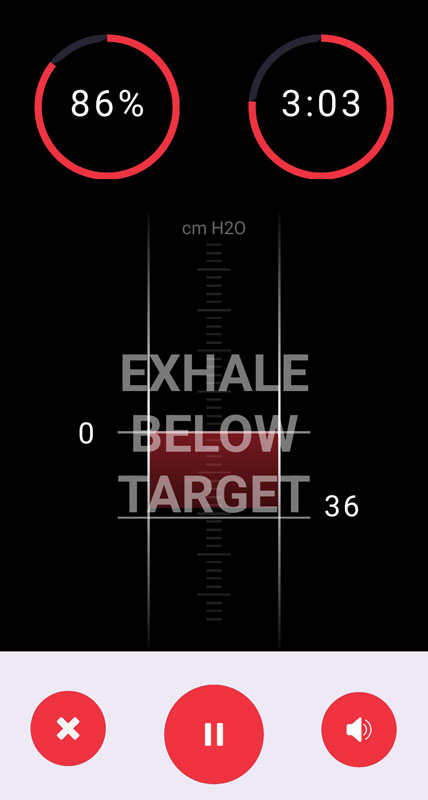
Here are some screenshots from training.
The app steps you through breathing – inhale, exhale, squeeze out your last air, hold your breath, etc. This was an exhale session. You inhale normally.
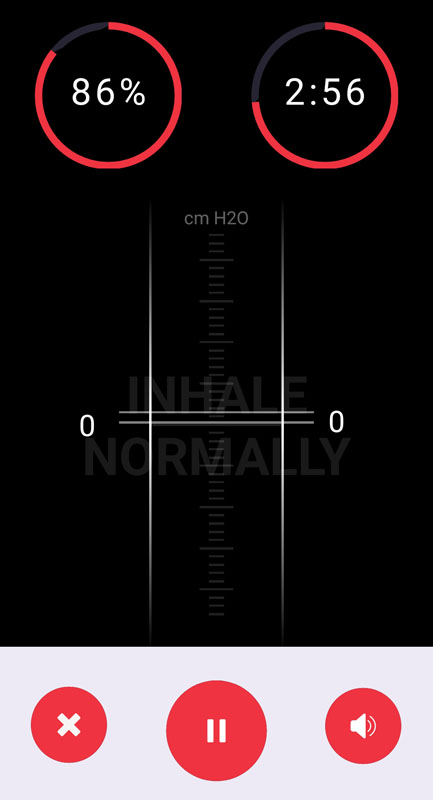
Then, you exhale to move the slider below the target on the screen.
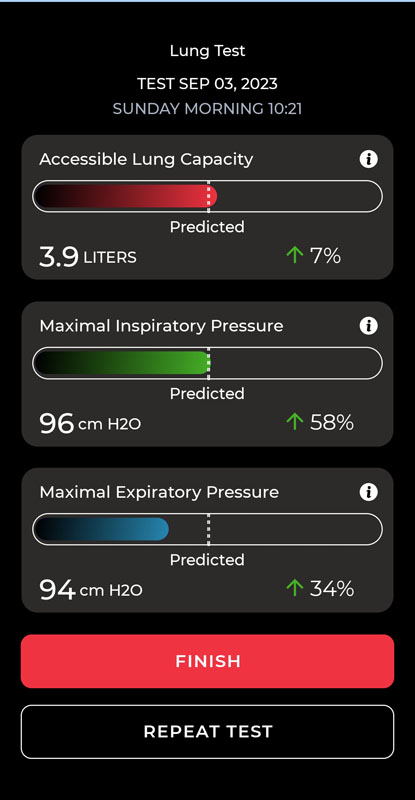
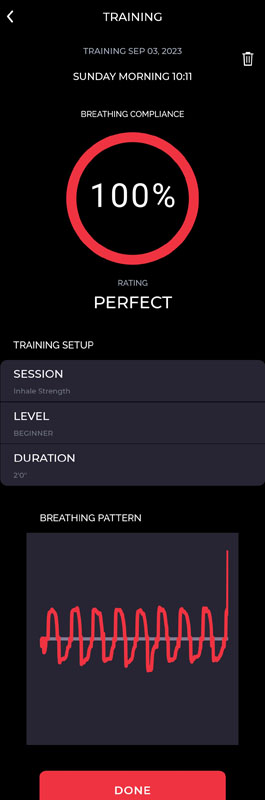
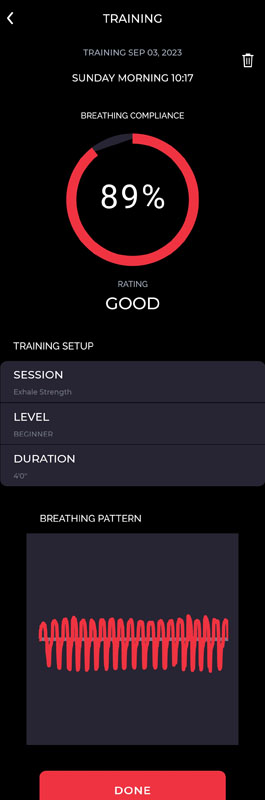
The app shows you the results after each test and how you performed versus the expected results.
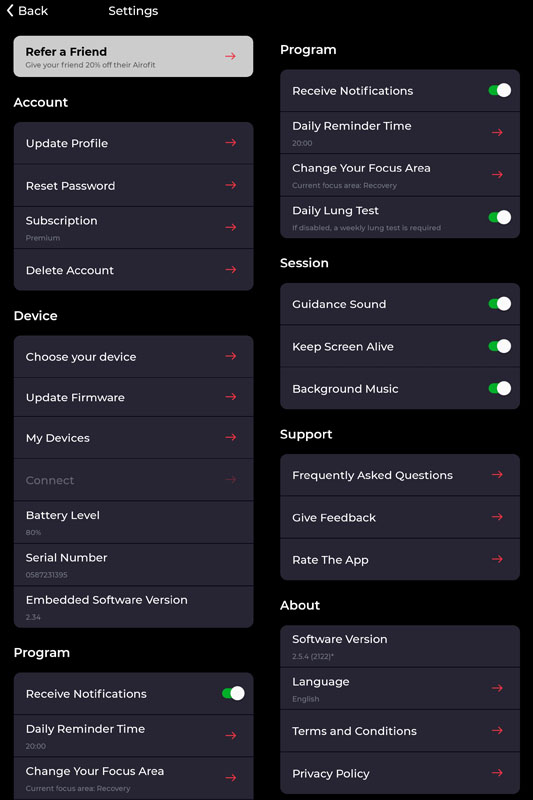
The app has a ton of settings available. The list was so long, that I took two screenshots and put them side-by-side so you will see repeated parts of the Program section.
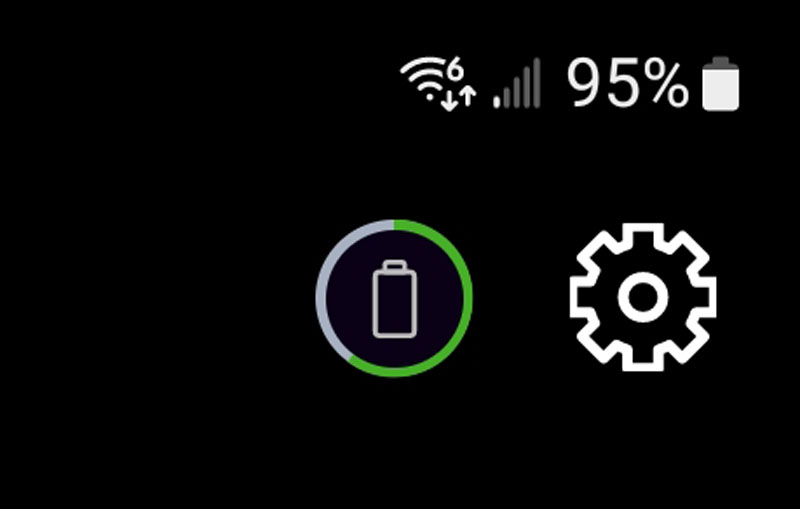
When you get into the app with your device turned on, the current charge level is shown on an icon in the upper right corner, to the left of the settings icon. Battery life in terms of days will vary based on how often you train and for how long. This photo shows what I would estimate as a 65% charge remaining and that is after perhaps 90 minutes of total use. I’d rate battery life as good and I expect to charge it perhaps once every week or ten days.
Timing affects the outcome of your training. They recommend training on an empty stomach as a full stomach can impede the movement of your diaphragm. Effectively using your diaphragm is a keep to this training. Many people, myself included, have adopted a more shallow, and therefore less effective breathing pattern. By training to improve the quality of your breathing, you will automatically retrain yourself to engage your diaphragm.
It was about four days into training that I did more reading about the training programs and realized I was mistaken about the meaning of “recovery” in the recovery program. I reached out to Airofit support, explaining what I was trying to accomplish and asking for a recommended training program to follow to achieve those goals. They responded with this:
Hi Garry,
Thank you for reaching out.
We do actually recommend the recovery program for medical conditions, but I think I’d ask you to try something a little different first 🙂
We recommend performing the following respiratory muscle training as part of your treatment for Asthma to get you to build up some overall strength. Please mind that the following exercises are found as indiviual exercises in the discover page.
Training suggestions: 2 x 5min a day for 8 weeks to obtain strength.
Suggested session:
INHALE STRENGTHCIRCLE
EXHALE STRENGTH
Based on customer feedback, we can also recommend to include additional elements of the breath holding session ELEVATION or INSPIRATORY FOUNDATION.
Week 1-2 Train on Beginner level for the first 2 weeks, for muscular and neural adaptation.
Week 3-6 Train on Intermediate for building strength.
Week 7 Try gradually adapting training on Expert level.
Week 8 Train on expert level.
After week 8 you have build up a foundation to continue your breathing training with the program of your preference. In order to do this, you can go to Settings – Change your Focus Area and your app will recommend a program for you to further continue working on your respiratory strength.
Based on this feedback, I adjusted my training plan and adopted their suggested training.
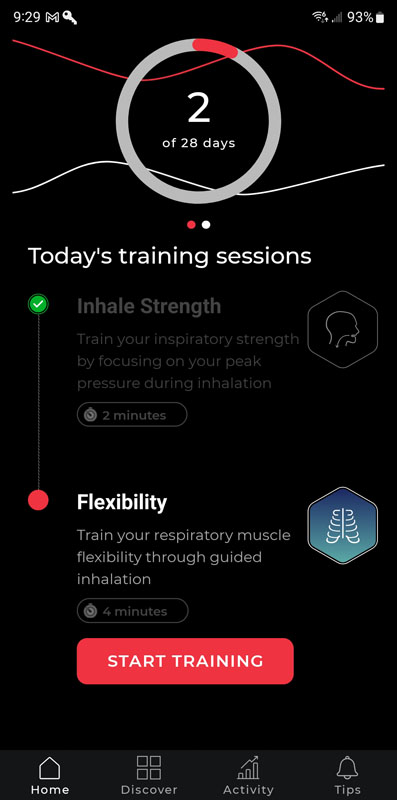
On the first day, I only had time for one training, but after that, I made sure to train twice each day as recommended. I set each of the three exercises for beginner mode and two minutes for a total of six minutes. From time to time, I also did either an elevation or inspiratory foundation session as suggested. I switched to intermediate mode after two weeks. The only differences were the resistance settings and the pressure I needed to exceed when I had to inhale or exhale. Increased resistance and increased target levels continue to help build the breathing muscles. Midway through the review, I started traveling and have not been able to train twice per day every day. I have completely missed a day or two. But, I continue to train as I am able.
I have no problem hitting my targets when inhaling or exhaling. My problem was in the circle breathing. Wow, that is hard. I have to pull hard to make the inhale level and then control my exhale so I can make it the entire time. Once I went to intermediate, my scores dropped from the 90s into the 80s as I just couldn’t make it. I will continue trying and see if my results improve.
One area where I did see a major improvement was in lung capacity. My initial test showed my lung capacity at 3.9l – well below the male average of 6.0l. When I did my initial test, I simply exhaled – whoosh. I have changed my exhale process, controlling my output. I am now showing a lung capacity of 5.8l – 6.0l. I wondered if I could have improved that much already. I did two tests back-to-back. In the first one, I inhaled slowly as directed and then exhaled fairly quickly. It showed a 4.0l capacity. Then, I repeated the test, inhaling slowly and exhaling slowly. It showed 6.0l. Wow, that’s quite a difference. What I don’t know is whether I am not efficient in exhaling air when I exhale quickly and therefore don’t completely empty my lungs versus a slow, controlled exhale. Or, is there an issue with how Airofit measures the volume of air based on the speed of the airflow? I posed that question to the experts at Airofit. They were unable to provide any answers so I don’t know how to interpret that result.
Here’s a practical observation. Yesterday, we were in Dutch Harbor, Unalaska, Alaska (if you watch Deadliest Catch, you know). The shuttle buses were delayed so we opted to walk the 1.5 miles from the WWII museum to our ship. Even though I was walking a little slowly due to some knee pain (yes, I’m falling apart), I never experienced any breathlessness on the walk. I found that a bit unusual. I typically get at least a little winded on walks like that. It might have been my reduced pace, but I’d like to think that my Airofit training is doing some good.
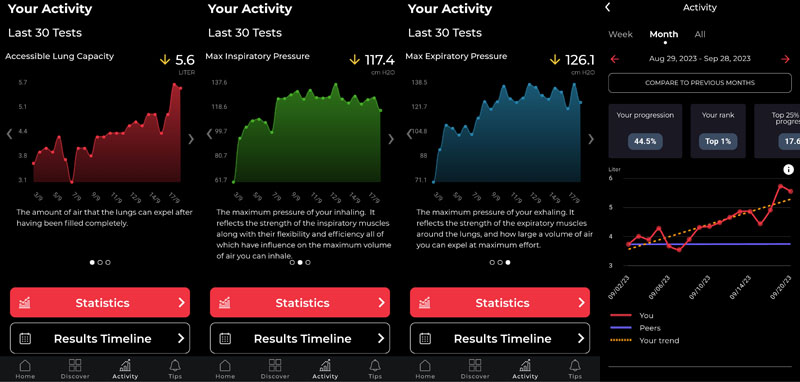
The app lets you track your progress and provides nice stats with the premium plan.
Here is a short video showing me performing all three of the routines I do regularly. I sped it up in spots not realizing how creepy it would look and sound. Think of it as an early Halloween treat.
I did note that the app would hang occasionally when I would go look at stats. If I canceled and they tried again, it would work. I also ran into an issue where the device didn’t seem to sense that I had stopped exhaling and was now inhaling. I canceled the test and restarted and it was fine.
The device is easy to maintain. I pop the mouthpiece off after every session and rinse off my slobber. Every few sessions, I pop off the e-unit as it is not waterproof. Then, I run water through the device as recommended. After a light shake to eliminate excess water, I let it dry for a few hours and it is ready to go again.
What I like
- Easy to use
- Nice progress stats with the premium plan
- Good battery life
- Portable
- Easy to clean and maintain
What I’d change
- Clarify whether there are accuracy issues with the device when measuring exhaled air
- Find a way to charge via USB-C to avoid yet another custom charging cord
- Fix the minor app glitches
Final thoughts
I will continue with the plan they suggested although I am not looking forward to circle breathing on an expert level! Stairs still wind me, but it seems to not be quite as much. I don’t know if that is wishful thinking or results from using Airofit. Only time will tell there. But for me, I think it is having a positive impact on my breathing, and that’s a good thing. Once I complete the eight-week program Airofit recommended to improve my breathing strength, I will let the app determine a new course for me to continue improving my breathing.
Price: $349
Where to buy: Airofit, Best Buy and Amazon
Source: The sample of this product was provided by Airofit.
