REVIEW – Even before the pandemic, online purchases were on the rise, and with the world period of stay-at-home, this trend skyrocketed. More shipped packages mean more labels, so investing in a good label printer is one way to increase efficiency and lower costs for small or large businesses. The Nelko Bluetooth Thermal Shipping Label Printer 2.0 falls squarely into this product space. Let’s take a look. Gadget on!
What is it?
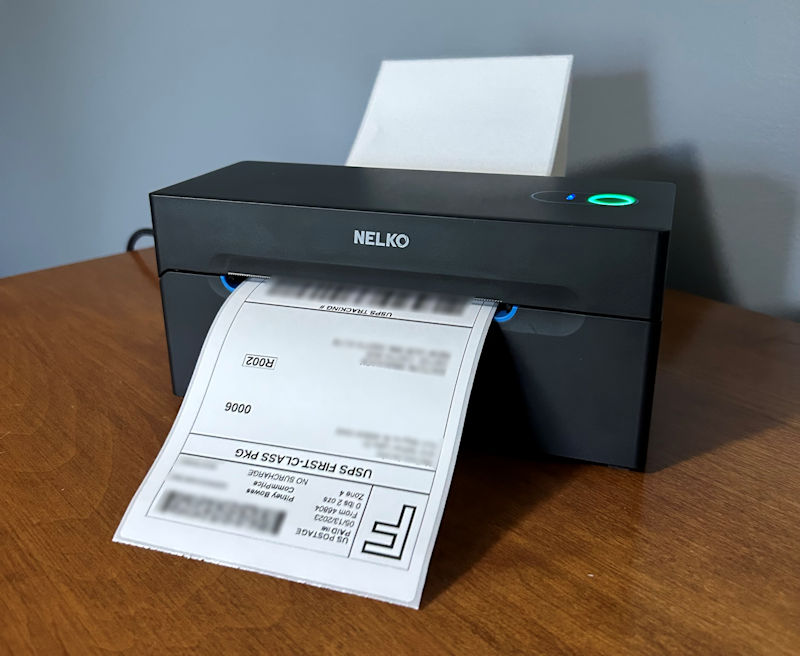
The Nelko Bluetooth Thermal Shipping Label Printer 2.0 is a small, compact, thermal printer that is specifically designed to print shipping labels. It can use either USB wired or Bluetooth wireless connection.
What’s in the box?
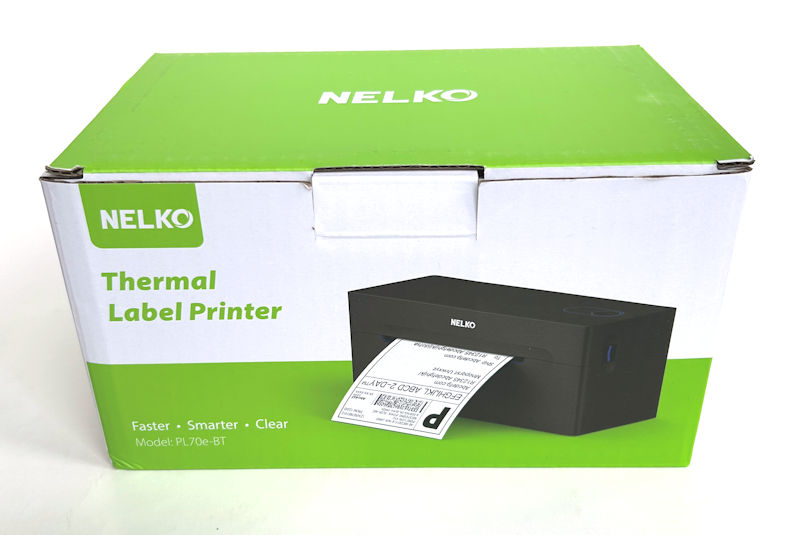
The Nelko Thermal Label Printer comes in a cardboard box with some simple photos of the product on the outside of the box and a list of the product’s specs. The box is recyclable, which is a plus in my book.
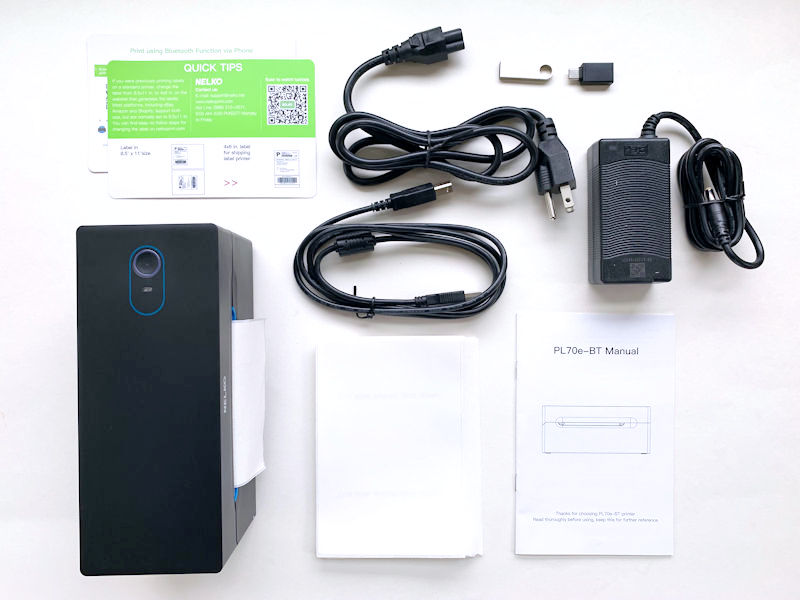
The Nelko Thermal Label Printer comes with the items shown in the photo above and listed below.
- Nelko Bluetooth Thermal Shipping Label Printer 2.0
- Power adapter
- Power cable
- USB-C cable to printer connection cable
- U-disk (USB stick)
- USB-A to USB-C adapter
- Users manual
- Quick tip cards
- Pack of 4″ x 6″ fan-fold test labels
Hardware specs
- Model: PL70e-BT
- Printing method: Thermal printing (thermal paper required, but no ink or toner)
- Connection: Bluetooth and USB connection
- OS types supported: Windows, Mac, iOS, Android
- Print resolution: 203 dpi resolution
- Print speed: 150 mm/s (approximately 6 in./s), prints up to 72 labels/min
- Label width: ranges from 1.57″ to 4.1″ (40-104mm)
- Power input: 24V, 2A
- Dimensions: 8″ long, 3.125 ” wide, 3.5″ high
Design and features
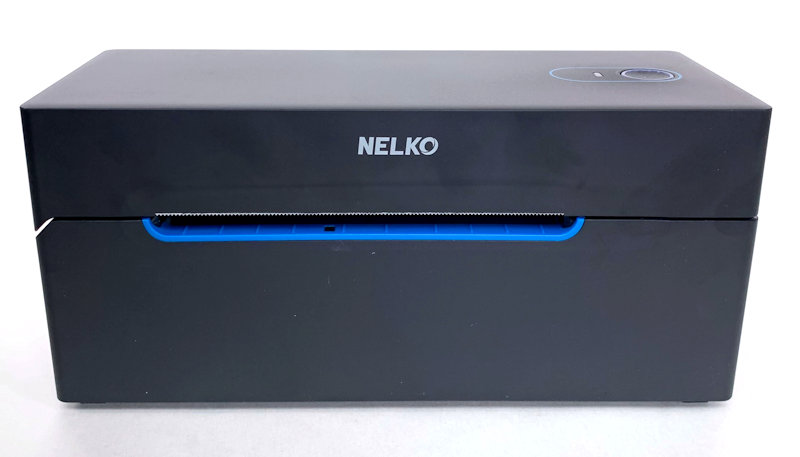
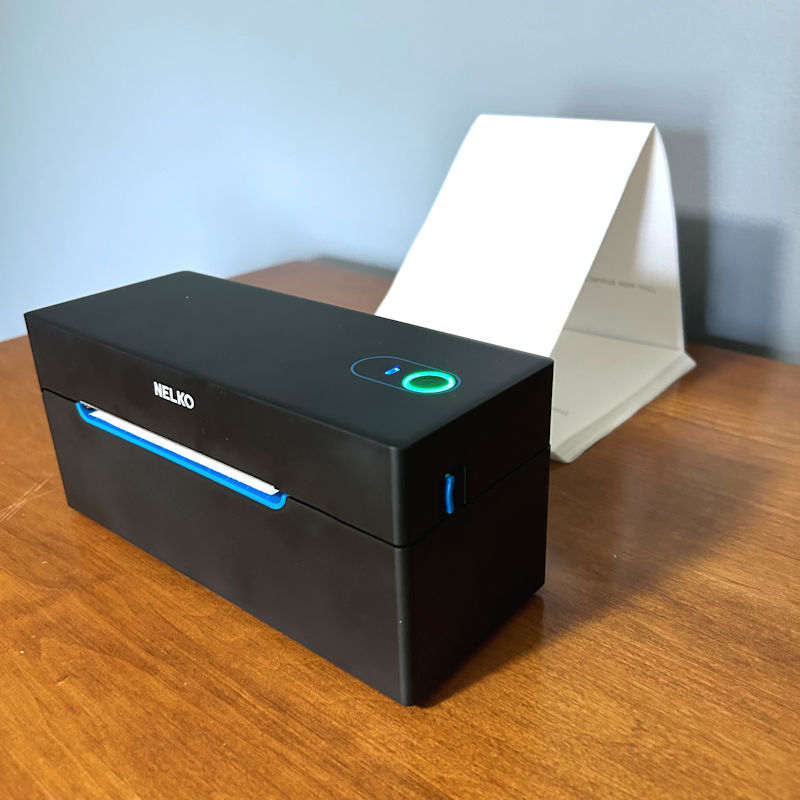
The first thing I noticed about the Nelko Bluetooth Thermal Shipping Label Printer 2.0 was its simple design, compact shape, and small size. It is nearly all matte black, giving it a minimalist appearance, but not to the point where it looks cheap or poorly designed and built. On the contrary, it looks solid and ready to get down to business. And at only 8″ long, 3.125 ” wide, it presents a very small footprint, perfect for a desk or table that has limited available space.
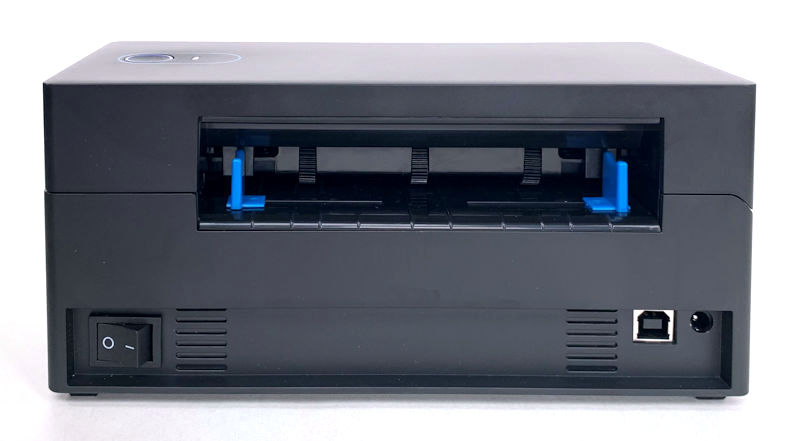
The rear of the Nelko Label Printer follows its overall design philosophy in that it is simple and no-nonsense. The paper inlet on the rear is open to allow labels to be loaded into the printer. A pair of blue width guides are visible inside the label-loading opening (more on these later). The lower left of the rear has the printer’s power switch, while the lower right of the printer has spots to plug in the included USB cable and power cable.

The Nelko Label Printer’s USB cable is plugged into the left port (if the USB cable is used), while the power cable is plugged into the power receptacle on the right.

The top of the printer has a few features that we’ll detail here. First, there is a small, oval-shaped LED light that is the connection indicator. The connection status indicator is a ring-shaped LED and in its center is the feed button.
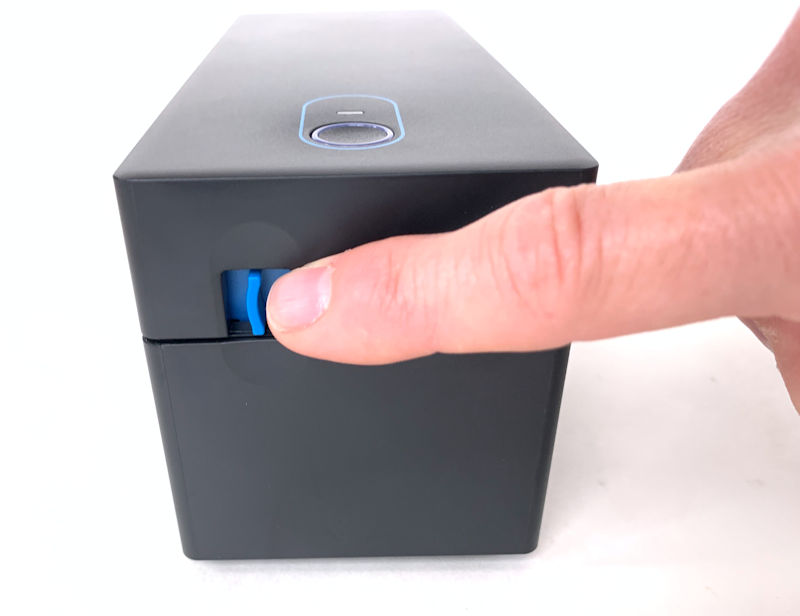
One side of the Nelko Label Printer has a blue slider button that releases the top cover of the printer so it can be opened to adjust the label width guides or to clear any label jams.
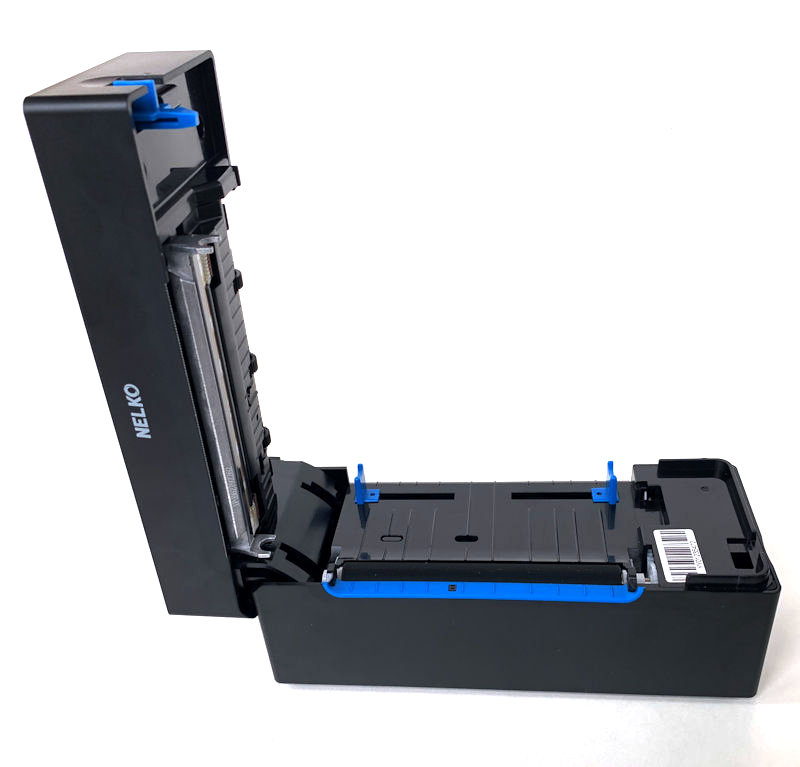
Once the blue slider is pressed, the top cover of the Nelko Label Printer can be opened. This allows access to the print head, adjustable paper guides, and paper platen and can be used to clear paper jams.
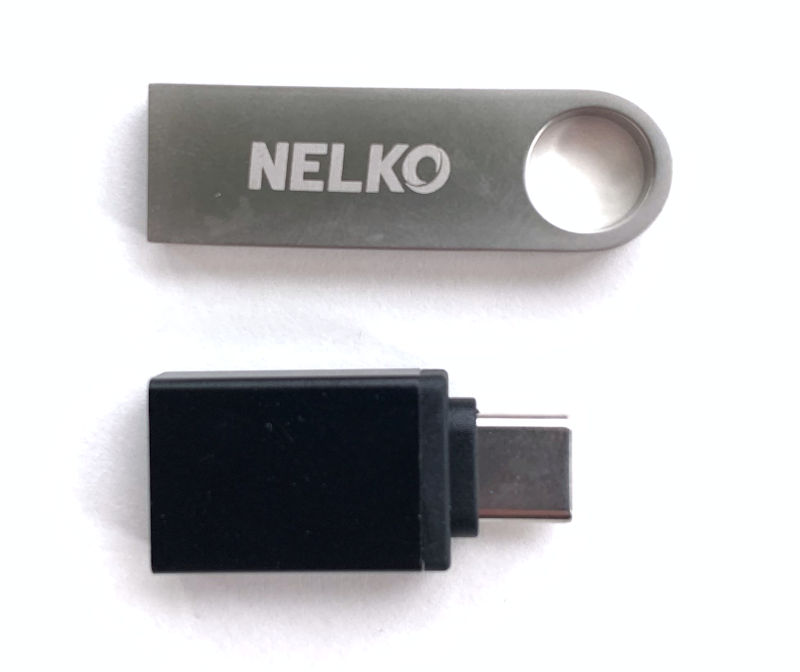
The Nelko Label Printer also includes a a “U-disk” (shown on top in the image above) and a USB-A to USB-C cable adapter. The U-disk is a USB memory stick that contains drivers, additional manuals, guides, and tutorials.
Printer setup

The first step in loading the Nelko Label Printer is to confirm that the label width guides have been adjusted to accommodate the correct label width. The interior of the printer is accessed by sliding the top cover button until it unlocks the top cover of the printer. The printer accommodates label widths ranging from 1.57″ to 4.1″ (40-104mm). The printer came with a pack of 4″ x 6″ “fanfold” test labels, so I slid the paper guides apart until they matched the 4″ width of the labels, then closed the top cover of the printer, locking it back into place.
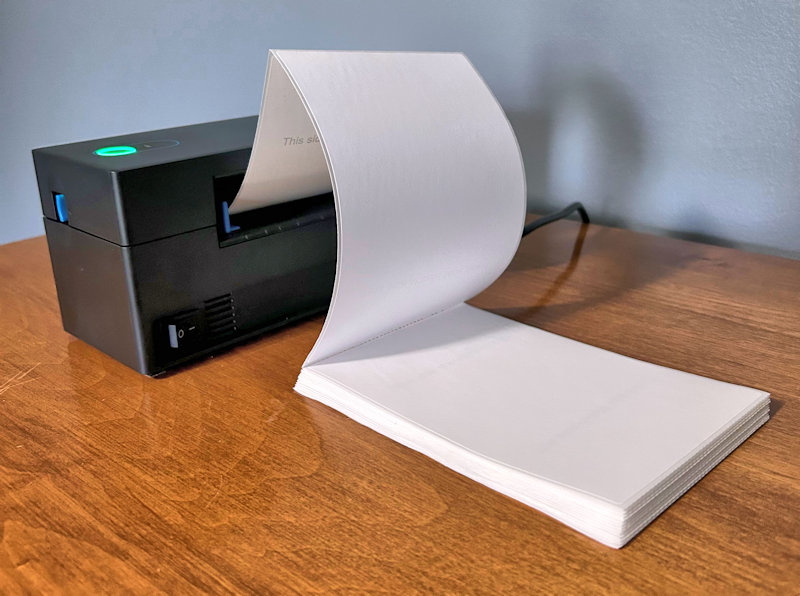
Once the guides had been adjusted and the top of the printer locked back down, I simply fed the short edge of the first label in the fanfold packet into the paper inlet, and the printer automatically pulled the label inside.
The printer itself was then set up and ready to print. The next step would be to set up the printer’s software.
Software setup
After physically setting up the printer itself, the next step was to install and set up the printer’s software. The Nelko Bluetooth Thermal Shipping Label Printer 2.0 can print to two different types of devices: mobile devices such as smartphones and tablets, and computers such as laptops or desktops.
Mobile app setup
First, let’s take a look at printing to a mobile device, such as a smartphone or tablet. The Nelko Label Printer is compatible with both iOS (Apple) and Android mobile devices and connects via Bluetooth.

The first step is to download “Shipping Printer Pro” from your mobile device’s app store. I downloaded it to my iPhone 14 Plus.
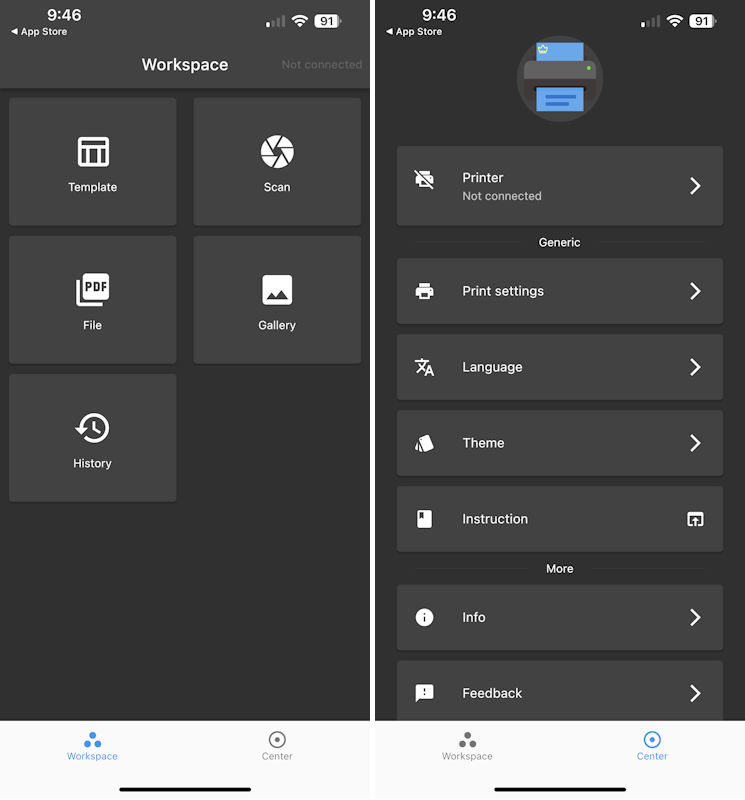
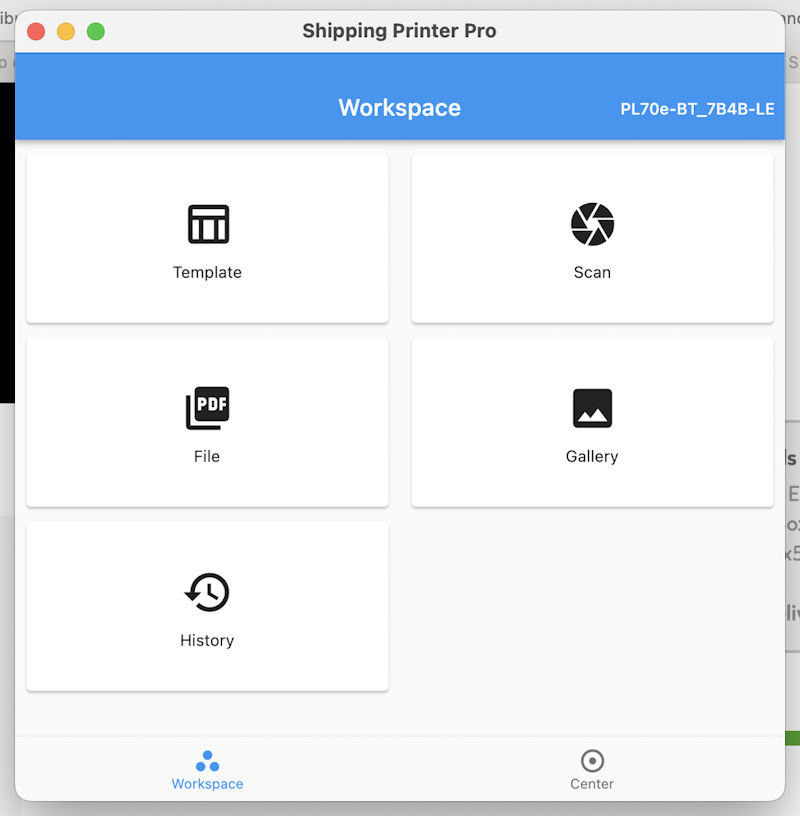
Next, launch the app. The app has two basic areas,the main one being Workspace (shown above left) and Center (shown above right), which is essentially an options page. On the Workspace screen, Template allows you to set up templates for specific label sizes, Scan allows you to scan QR codes, File allows you to select a label file from your mobile devices Files app so you can print it, Gallery allows you to select a label from your mobile device’s photo library for printing, and History shows a list of all the labels you printed, in case you need to reprint one.

Connecting the app to the printer was easier than I’d expected. I held my phone near the printer, then launched the app. From Workspace, I tapped the greyed-out “Not Connected” text in the top right corner. (Suggestion for the Nelko folks: make this text red, then change it to green once the app has been connected to the printer; having it in dark grey font makes it difficult to find.) On the Printer screen tap “Search.” A list of nearby Bluetooth-enabled devices appeared. I selected “PL70e-BT 7B4B-LE” from the list and boom–the app was connected to the printer. I didn’t even need to touch anything on the printer to make this happen. Very slick.
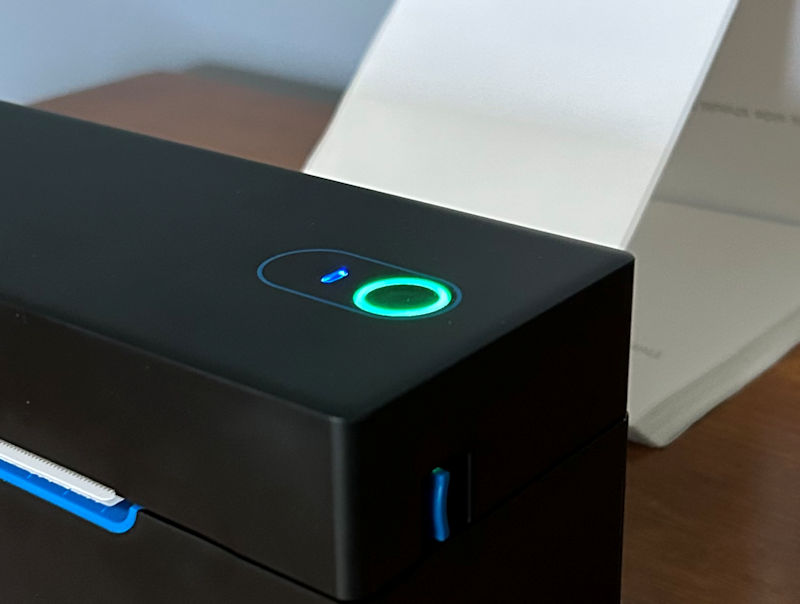
Once the app has been connected to the printer, the connector status light on top of the printer changes from red to green.
Computer app setup
Nelko Bluetooth Thermal Shipping Label Printer 2.0 on a computer, such as a laptop or desktop follows similar steps to setup on a mobile device. First, download the “Shipping Printer Pro” app from your computer operating system’s app store and install it. For this review, my wife installed it on her MacBook Pro.
The layout of the Mac version of the Shipping Printer Pro app is nearly identical to the iPhone version, as seen above.

We started by creating a new template for a 4″ x 6″ label, which is a fairly straightforward process, as seen above. Note that the same steps apply to creating a new template in the mobile app.
To assess label printing from the Mac app, we created a shipping label from a shipping website, then downloaded it locally in .pdf format. Next, we launched the Shipping Printer Pro app and tapped the “File” icon, navigated to the folder where the .pdf label file was located, then selected it.

Once we had selected the label file, the app allows you to make various adjustments before printing the label, which can be seen in the above photos.

Once we had everything set up properly, the only thing left to do was click the Print icon to print the label.
Aftering clicking Print, the label printed FAST, much faster than printing to our laserjet printer, which takes several seconds to spin up, then several more seconds to actually print. The Nelko Label Printer can print maybe 7 or 8 labels in the time it takes our laserjet to print a single label.
One thing to note here: About 10% of the time, when hitting print on the app, the app will just time out without actually having printed the label. The only way to fix this seemed to be to open the print head, remove the label, close the print head, and re-feed the labels into the label inlet. The process was similar to clearing a paper jam in a standard printer. While this didn’t happen often, it was certainly an annoyance when it did.

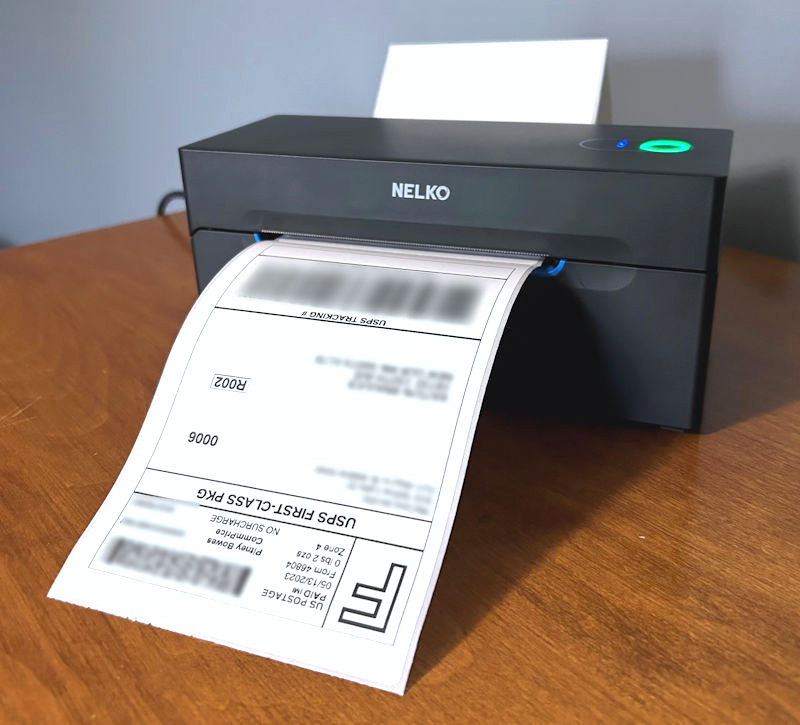
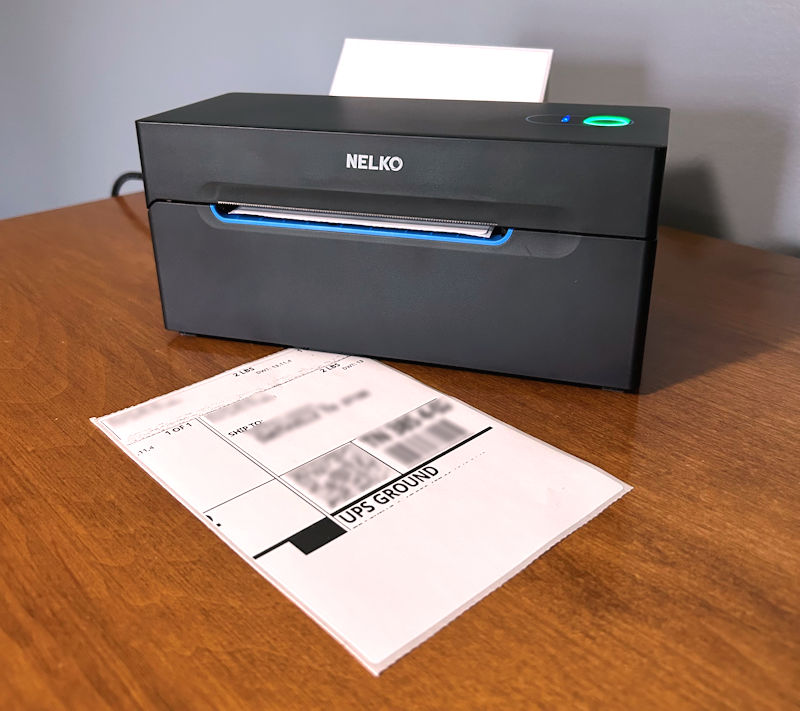
Above is the finished product, a 4″ x 6″ label that is clear and easy to read (aside from my privacy blur-outs, of course) thanks to its 203 dpi resolution. A great feature here is that because this is a thermal printer, no ink or toner is required. However, the printer does require special thermal paper.
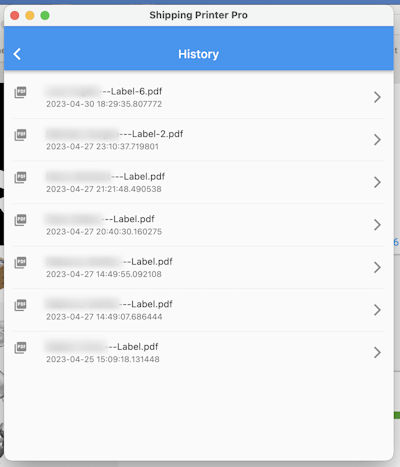
Above is an example of the History screen on the Mac app, showing a list of the previous label we had printed, in case we wanted to go back and reprint one.
What I like
- Easy to set up and use
- Small and compact
- No toner or ink cartridges needed
- Prints fast
What I’d change
- Occasionally would not print and had to manually re-feed the label back into the printer
- Requires thermal paper labels
Final thoughts
The Nelko Bluetooth Thermal Shipping Label Printer 2.0 is a solid product. It has a lot of really useful features, like its small, compact size, ease of setup and use, fast printing, and no need for toner or ink. In the situations where the label would not print, having to manually re-set the label in the printer was not a show-stopper, but was a bit irritating. Overall, I found this to be a solid product and worth the price, especially if you print shipping labels frequently, which could help you save both time and cost.
Price: $135.99 at nelko.com and $94.19 as of this writing at amazon.com
Where to buy: Amazon
Source: The sample of this product was provided by Nelko.

Gadgeteer Comment Policy - Please read before commenting
Nice review Andy.
I’ve had this printer for about a month. One thing worth pointing out is, when you get a prepaid label from somewhere (Amazon, USPS, etc…), it is formatted to be printed on 8.5 x 11 paper. Per Nelko’s website, there are a few ways to address this (essentially, cropping the label down to 4 x 6).
Unfortunately, I haven’t been able to get this to print correctly on a Windows 10 machine (printing from a licensed copy of Adobe Acrobat). I’m wondering if you had a need to try this? Note that Nelko has been unresponsive to my emails on the subject.
My workaround is to print the “cropped” PDF using the web browser plug in. While slightly annoying, it works well.
Anyway, I’m very satisfied with the printer (make sure to buy it when “on sale” or with coupons) but, thought Gadgeteer readers should know about this potential issue and workaround (and that the company obviously ignores support emails).
Hi Brian,
PLease contact me via nelko facebook page and I will take care of the windows 10 issue.
Sorry my colleague failed to answer your question.
Eric from nelko
I cant for the life of me print 2″ x 1″ labels. Need these asap. Please help!
My Nelko printer won’t print out the design on my stickers to the right size, I am using and Galaxy 8 tablet (2022). Design gets cut off. Please help!