REVIEW – Ever since our energy grid failed us back in 2021 during that big snow event, I have been paranoid about having some backup power available. We have been getting notifications and warnings this summer to conserve energy and protect our electric grid. We have had over 32 days of 100 degrees or higher. So far, nothing has happened to cause us to have any brown or blackouts. That still does not stop me from wanting to be prepared. I have always wanted to try using solar panels to provide electricity to backup power supplies. Should a power outage last multiple days, I figure it is a good backup. So when the chance came to review the MOKiN 120W portable solar panel and their 300W portable power station, I jumped at it.
What is it?
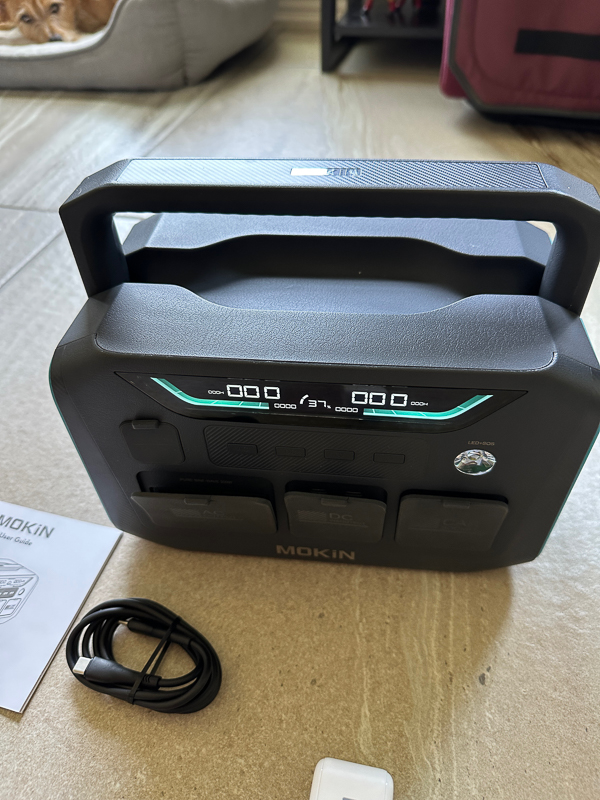
This review is going to talk about two separate items. The first is the MOKiN 300w 9-Port power station. It is a portable backup battery weighing only 8.16 lbs. The second item is the MOKiN 120W Foldable Solar Charger. That is a four-panel foldable solar charger that has a pouch to carry several cables and power adapters.
What’s in the box?


- MOKiN 100W AC300W power station
- MOKiN 120 W Foldable Solar Charger
- User manuals for both devices
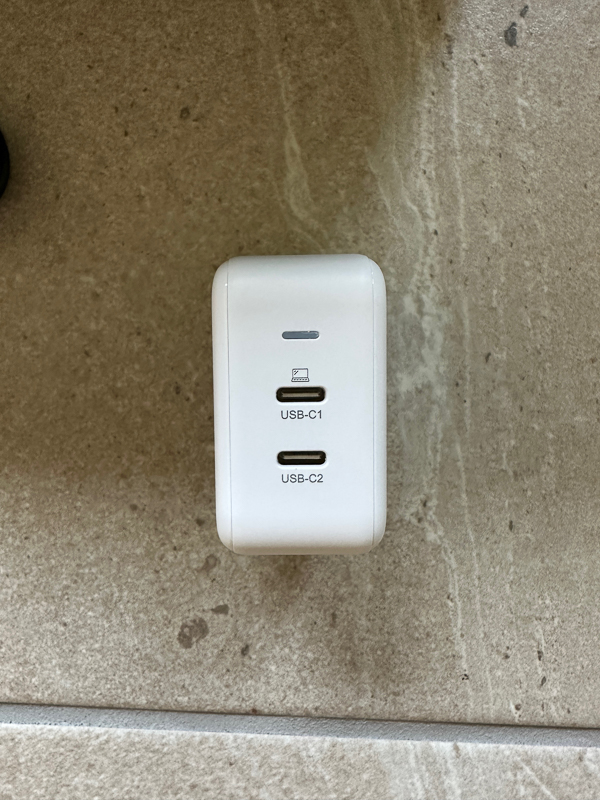
- Vissmon 68W GaN fast wall charger
- USB-C to USB-C cable to charge the Power House
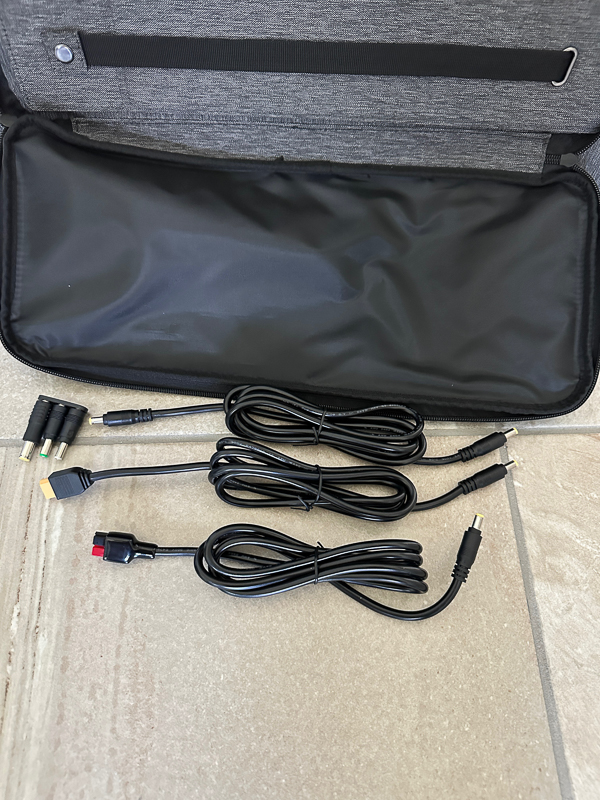
- 6 connectors(1* DC to DC Cable, 1* DC to Anderson Cable, 1* DC to XT60 Cable, 1* 3 in 1 DC to DC 5525/DC8020/DC7909 Converter)
Hardware specs
For the Portable Solar Panel
- Monocrystalline Solar Cells With Up to 23% Efficiency
- Long-lasting ETFE Coating
- Foldable & Portable
- Durable and Waterproof IP65
- Power for 4 Devices Simultaneously
- Compatible with most power stations on the market
- 120W max output power
- The ETFE honeycomb coating surface has up to 95% light transmittance and is characterized by low reflectivity, user-friendliness, and eco-friendliness
- With 4 outputs (1* 65W USB C output; 2* QC 3.0 USB outputs; 1* DC output)
For the Power Station
- USB-C PD 100W passthrough quick charge and recharge port(IN/OUT).
- Built-in BMS&MPPT ensures multi-protection for the power station.
- The integrated MPPT controller enables the solar generator set to operate at its max power point.
- USB ports can charge up to 6 devices simultaneously.
- Universal Compatibility – compatible with a wide range of devices, including drones, cameras, and MacBooks.
- It can be fully charged to 80% in less than 2 hours.
- There are 3 charging options. You can fully recharge the portable power station from a wall outlet when at home, through a car outlet while traveling, or using a 120W solar panel
- Equipped with 2*USB C output, 2*USB A output, 1*car output, 2*DC ports, and 2*AC outlets.
Design and features
I found it interesting that MOKiN provided a wall charger from another company when they advertised a 100W USB-C charger on their website. The Vissmon wall charger is a 68W GaN fast charger. USB-C1 will provide up to 65W, and USB-C2 will only provide 20W.
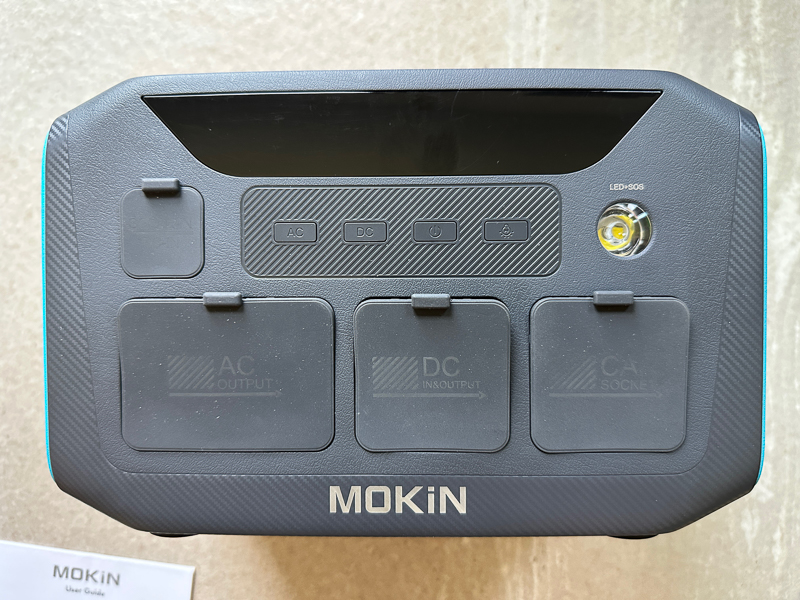
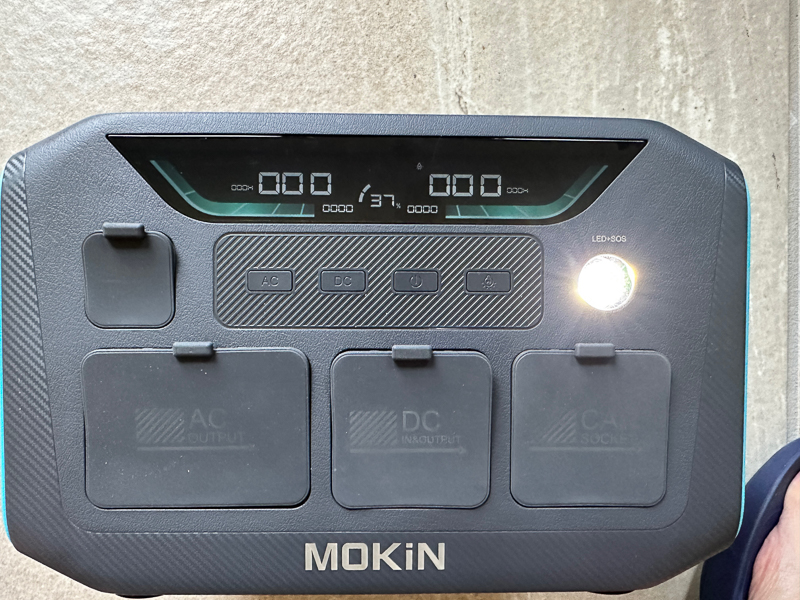
I am very impressed with the MOKiN power station. It only weighs 8.16 pounds. The handle can be recessed into the charger body or pulled up for carrying. You will notice that rubber flaps are covering each of the port areas. My only complaint with the device is that those flaps do not stay snug against the charging station and tend to open up a bit, as you see in the picture. If you place it near water or a damp area, that does not bode well for the device.
Here is a closeup of the front of the MOKiN Power Station. You can barely read what is on the front of each cover. If you tilt the device just right, you can read them. It would be better if they had white lettering or more raised letters on the covers. From the top left:
- Solar – In. DC – In
- AC Output
- DC In/Output
- Car Socket
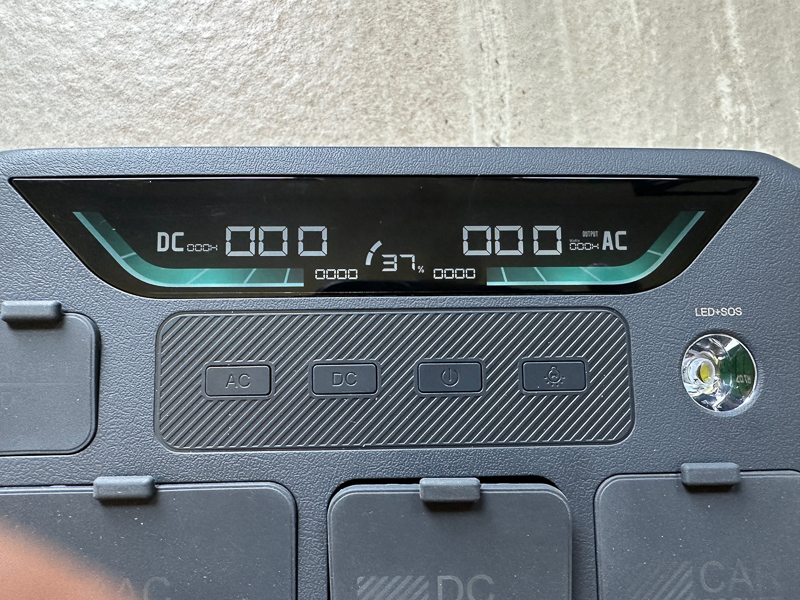
There are four buttons on the top row:
- AC – long press for 3 seconds to turn on AC ports for output. AC displays on the screen
- DC – short press to turn on DC output and Car socket. DC displays on the screen
- Power button – long press for 3 seconds to turn on and off
- Light button – first short press turns the light on, second short press and the light will start flashing SOS, third short press and it will turn off the light
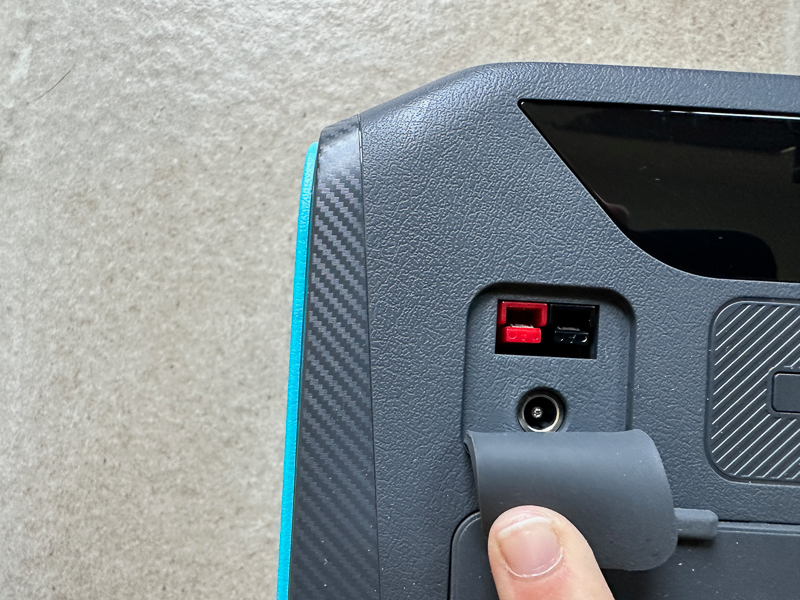
This is a picture of the Solar input ports.
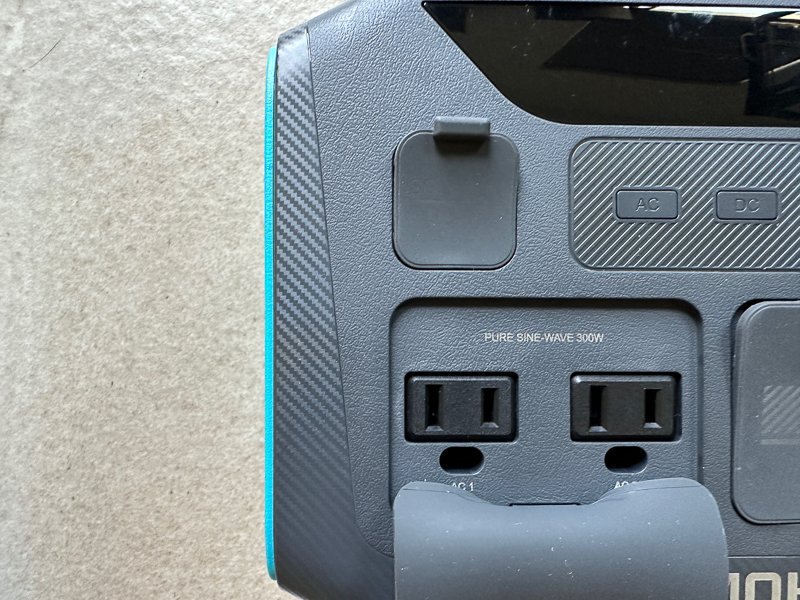
Then we have the two AC outlets under the next flap. A nice feature is that the power provided is a clean sine wave.
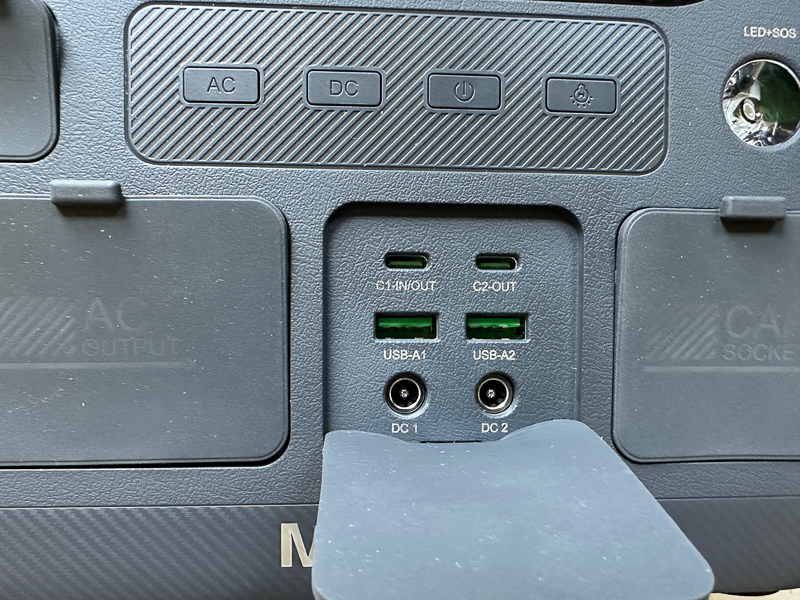
This picture shows the DC ports. I discovered pretty quickly that the C1 port is both input and output. I used the Power Station to charge a device with its own internal battery to completely deplete the power station. I tried to do this overnight. Sometime in the night, the power station ran out of battery and started to charge itself back up from the item I was charging! It did what it was supposed to.
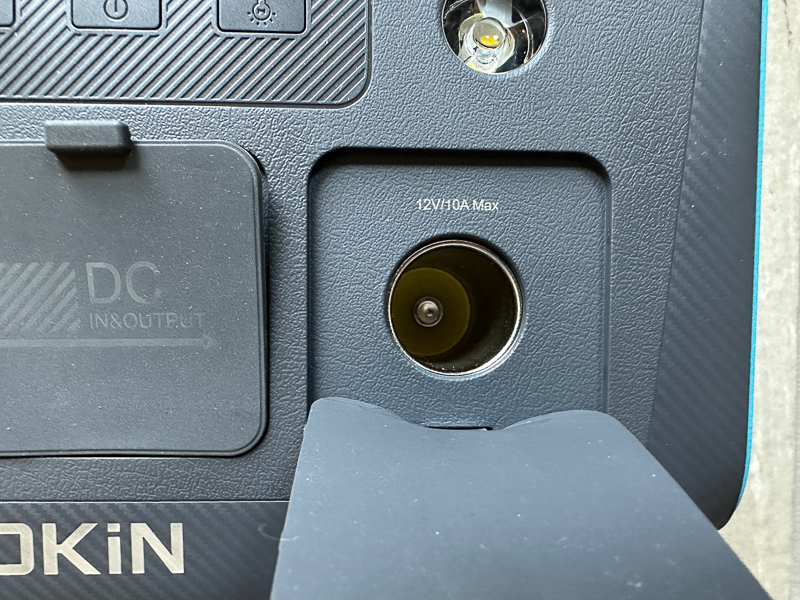
Under the last flap, you can see the car socket.
The light is surprisingly bright.
Here is a picture of the display with the AC and DC ports turned on. Nothing is hooked up right now, so no draw or charging is happening.
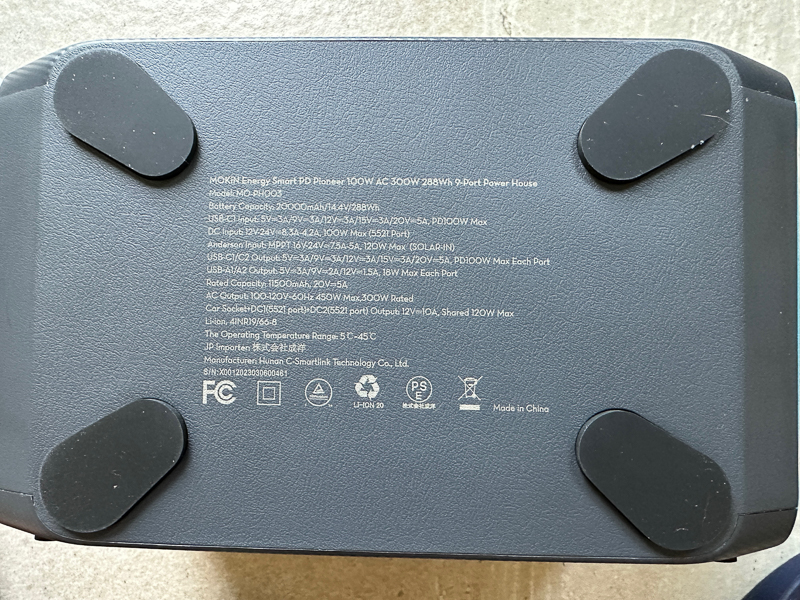
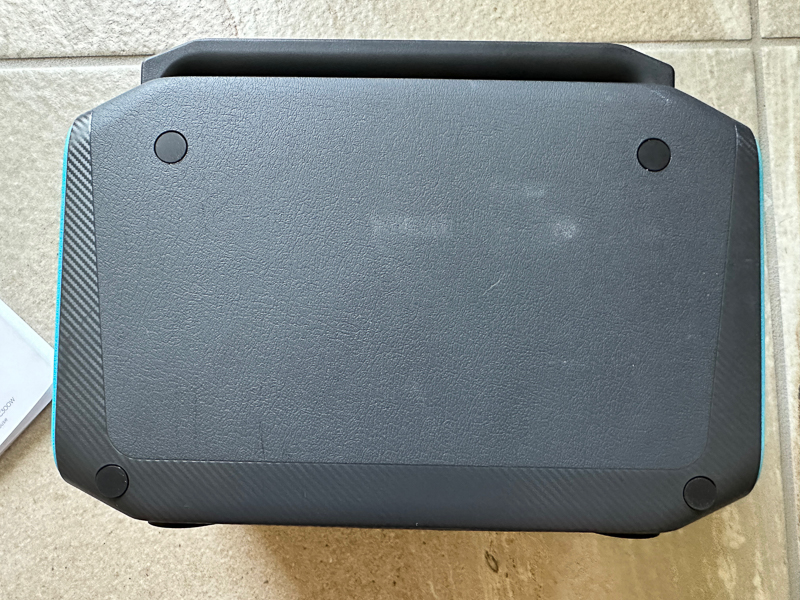
The bottom of the power station has four large rubber feet and the specs are written there.
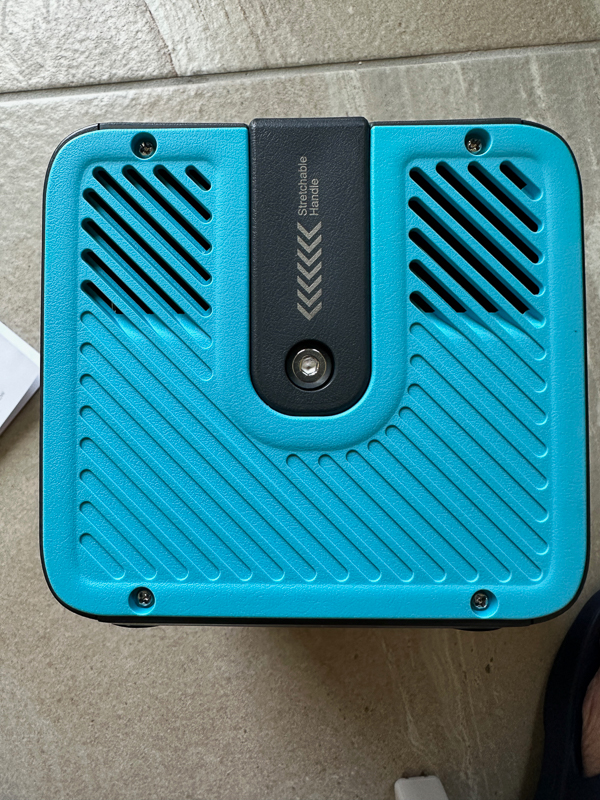
The sides of the power station are a bright teal color. There are slots for venting on the top of both sides. This picture also shows how the handle slides back into the unit.
The side opposite the ports also has four small rubber feet. This is nice because it allows you to place the unit on its back if that gives you easier access to the ports.
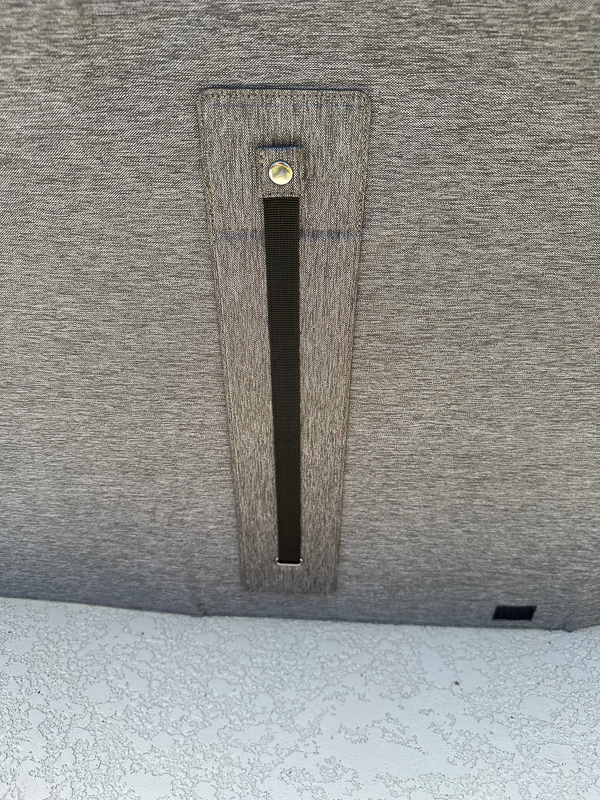
Next, we will talk about the solar panel charger. In the picture below, you can see it all folded up and ready for carrying. The pouch on the front hides the charging box, where you will plug cables, and it also holds the cables and adapters. There is also an additional pop-out stand to help prop up the panels to face the sun.
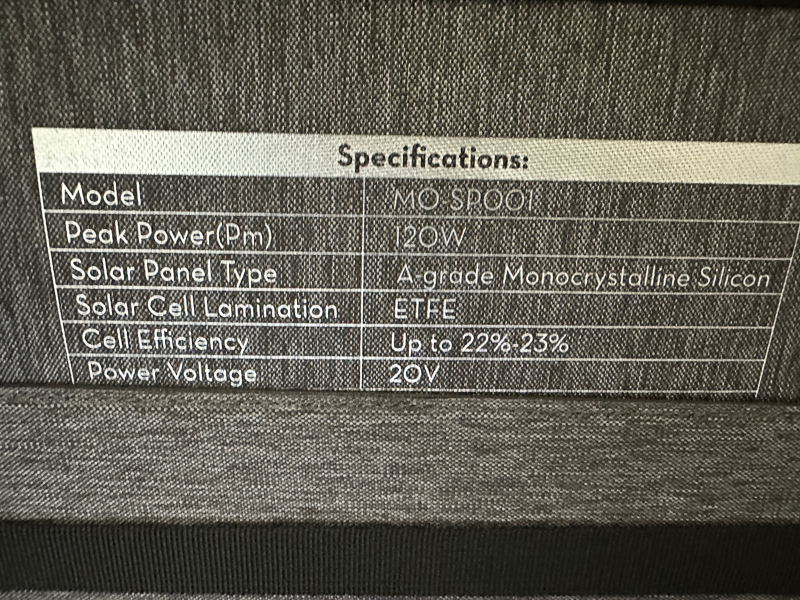
When you unzip the pouch, you can see the specs for the panels.
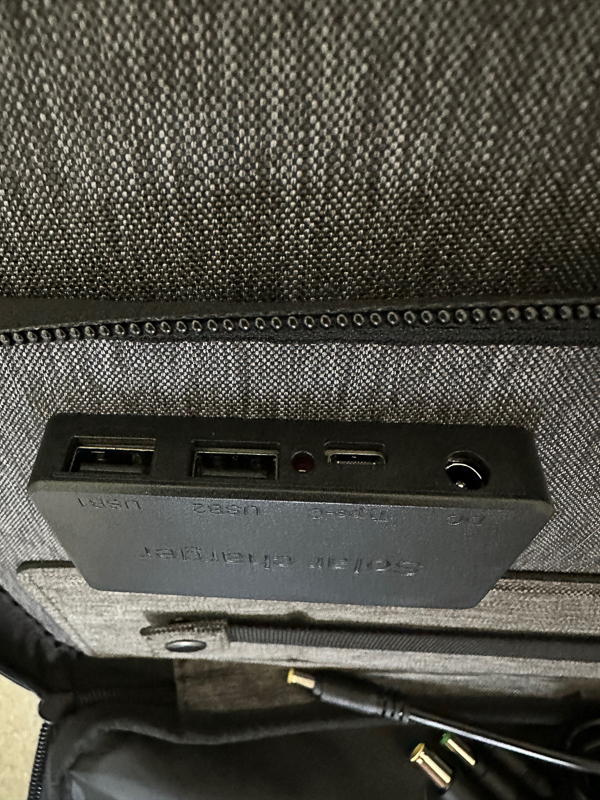
Inside the pouch is the box that interfaces to the panels. This is where you would plug in anything you wish to charge. You can charge up to four devices at the same time. 1* 65W USB C output; 2* QC 3.0 USB outputs; 1* DC output
Three of the four panels have these pop-out flaps that can be used to support the panels at an angle to facilitate sun absorption. You unsnap the top snap and slide the flap down the strap. There are three levels of snaps to position the flap, or you can not snap it in at all and let it angle as much as it can.

Setup
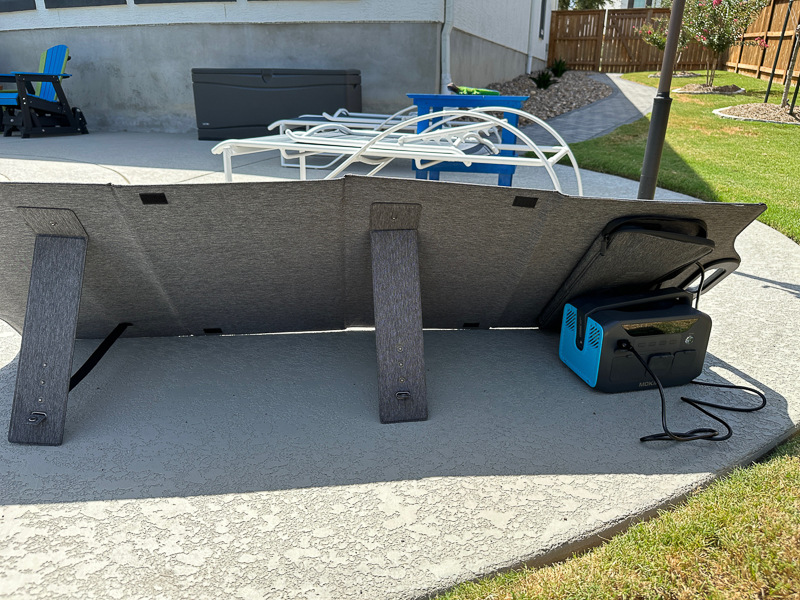
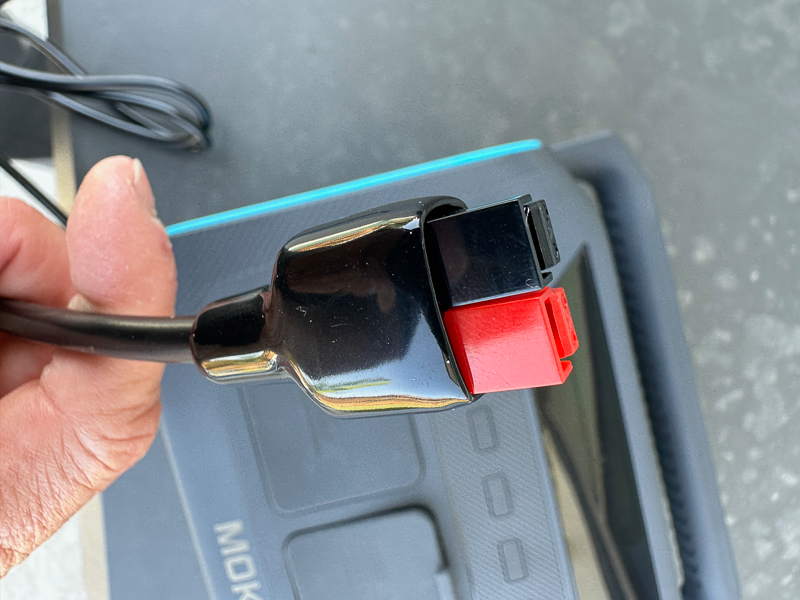
To set up the panels to charge the Power station, I used the red and black power cable and plugged that into the Power station. I then plugged the other into the solar panel.
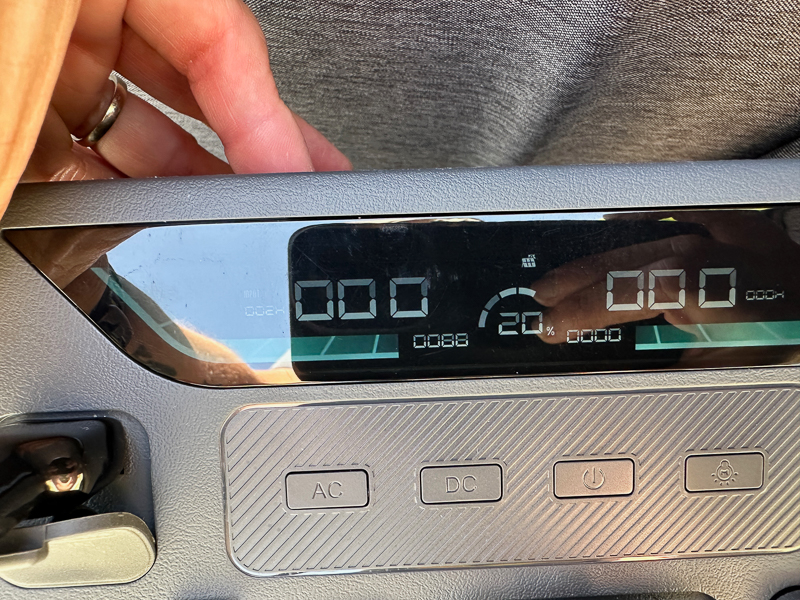
The power station immediately showed the solar panel icon above the 20% battery level indicator. You can also see that I was getting about 88W into the unit.
I used the power station to support the panel instead of using the support flap in the pouch area. I wanted the station to be in the shade if possible. We were getting another one of those 100-degree days. We had no clouds in the sky.
Here is a shot of the front of the panels.
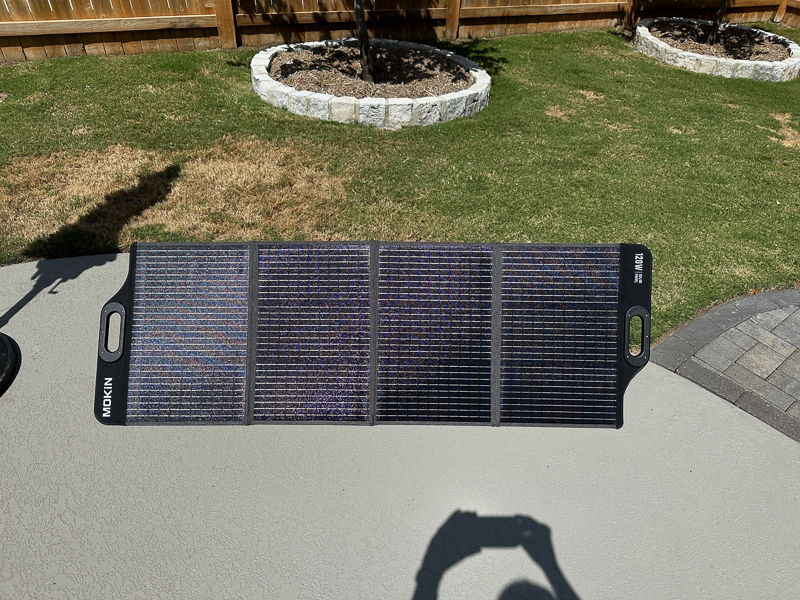
I played around moving the panels in different positions and angles. The best output I could get from them was 91 – 92%. It took just under 3 hours to get the MOKiN power station fully charged from 18% to 100%.
Performance
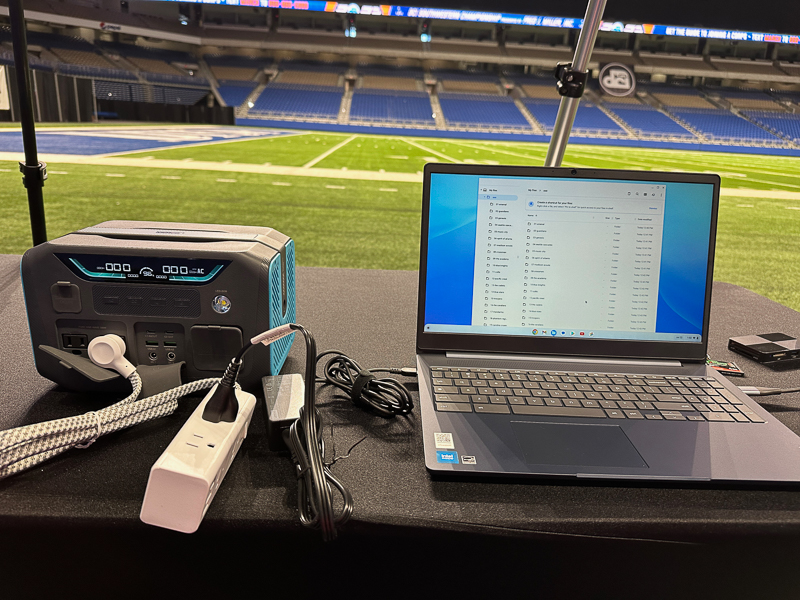
To test out the MOKiN power station, I decided to take it with me on my photography gig. I take action pictures of marching bands (in this case, it was a Drum Corps Super Regional). In this case, I was at the Alamodome, and they had readily available power. However, I often am at high school football fields where the power outlets are hard to find or sketchy. I wanted to use this power station as my main source of power.
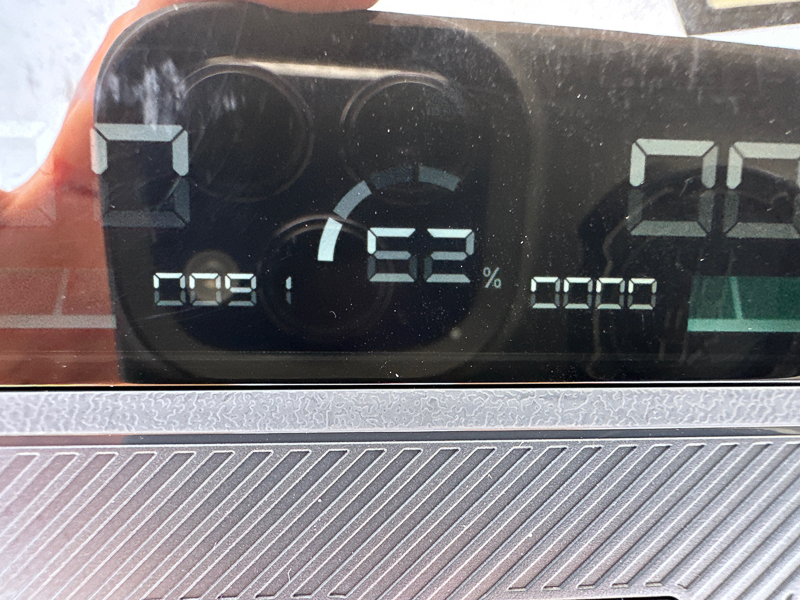
I have to bring a laptop to download pictures after every marching group. I have a Chromebook laptop that came to the event fully charged. I plugged it into the charging station, which was also at 100% capacity. After every group, I would take my compact flash card and save the pictures to a folder on my laptop. I also had to maintain a spreadsheet showing how many pictures I took of each group. Finally, I had to download all the pictures to a portable USB stick at the contest’s end. I had that laptop connected to the Power Bank for a total of 9 hours. At the end of the contest, the laptop was 100% charged, and the Power Bank was down to 46%. I was very happy with its performance. I probably spent about an hour on the laptop surfing the web during intermission.
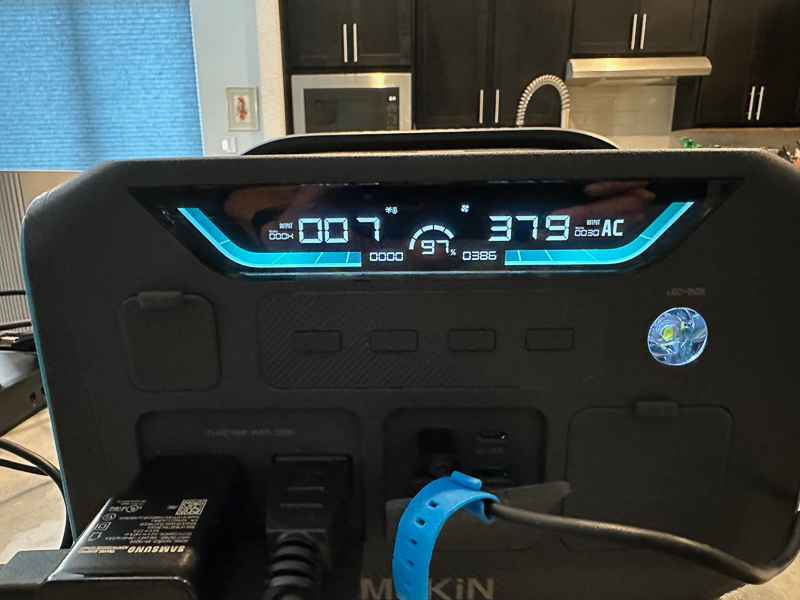
In an effort to drain the power station so I could test it with the solar panels, I hooked it up to a large 2000W portable power station. You can see that it was pulling 379W from the power station. It would cycle through that as the Power Bank could not consistently give that much power. It would pull that much power for about three seconds, then cycle down to a much smaller draw, and then kick back up repeatedly. The fan icon is showing as it started to run to keep the Power Bank from getting too hot. That is also the high-temperature icon showing just to the top right of the 007.
What I like
- The power station has plenty of power for my marching contests and only weighs under 9 lbs.
- Nine output ports are available
- Retractable handle
- Quick charging.
- Solar panels offer many cables and adapters to work with almost any device.
- The solar panel is foldable for easy portability. The pouch lets you keep everything together.
- I think both items are very reasonably priced.
What I’d change
- No matter how I positioned the panels, I never could get the full 120W the panels promised. Putting them flat on the ground when the sun was almost directly overhead did not do it.
- Rubber flaps on the power station do not stay closed.
- The lettering on the rubber flaps is hard to read.
Final thoughts
The MOKiN power station is the first truly portable (meaning I don’t feel the need to roll it around on wheels like a suitcase) power station I have seen. I will have no trouble carrying it from a large parking lot into a football stadium. It has more than enough power for what I need to do. If you need to recharge things like your laptop or phone or any device within the Power Bank’s limits, I don’t think you can get a better deal than with MOKiN.
Price: $199.99 for the Solar Panels, $209.99 for the Power Station
Where to buy: MOKiN and Panels – Amazon, Power Bank – Amazon
Source: The sample of this product was provided by MOKiN.
